


Turning natural dye into pigment
making the most of your used-up dye baths

Kaliko Journal is a free newsletter about natural dyeing, textiles, art practice, and life by Ania Grzeszek. This publication is divided into two sections: ”Plant Dyeing” and “Studio Practice”. You can manage your subscription by clicking “Unsubscribe” at the bottom of the email and opting IN and OUT of the sections that interest you.
Feel free to share parts of this letter wherever and with whomever you’d like. If you want to support my work, subscribe to this publication and/or purchase my handmade products. Take care of yourself wherever you are.
Last week I did some plant dyeing and had four beautiful dye baths left. They were still quite potent and I didn’t want to simply dispose of them. So, as always, I turned them into pigments, and I thought I might as well record my process, so here it is.
Dyes vs. Pigments
In case you missed the memo, there’s one main difference between dyes and pigments. Dyes are substances that can be dissolved in water - that’s why to extract color from most plants, you simply cook them. Pigments, on the other hand, can’t be easily dissolved, only dispersed. These are particles that float freely in the liquid ( not unlike fish in the pond) but don’t dissolve within it, keeping their form. The vast majority of plant colors are dyes. There are a few exceptions, though, for example, indigo. Indigo is a pigment and has to undergo a chemical process in order to dissolve and be used to color fibers. (More on indigo in this blog post)
Pigments vs. Dye Extracts
There is one more form in which the dyes can come in — extracts. Extracts are dyes with all water removed. Think of it like that: making a super concentrated dye bath and letting all water evaporate. Therefore, extracts can be dissolved back into the water, too.
Why make pigments, then, if we can have a powdered form with extracts? Dye extracts are super fine powders. Pigments are dyes connected with alum and soda ash, so the size of the pigment particles is considerably bigger. It’s easier to handle them, and it’s easier to filter them (you’d need a super fine filter to make extracts). Pigments don’t dissolve when mixed with a painting medium, rather let the medium hold them. And they are more lightfast, thanks to aluminum, which is a mordant.
Making pigments is really easy, once you know what to expect, so let me show you my process.
You need:
leftover dye bath
potassium aluminum sulfate (PAS or alum)
soda ash (sodium carbonate)
coffee filters
To turn your dye bath into pigment, start with a strained liquid. You don’t want any parts of plants or threads of the fabric to be caught up in the pigment. Pour the dye bath through a fine muslin cloth, then, warm up the dye.
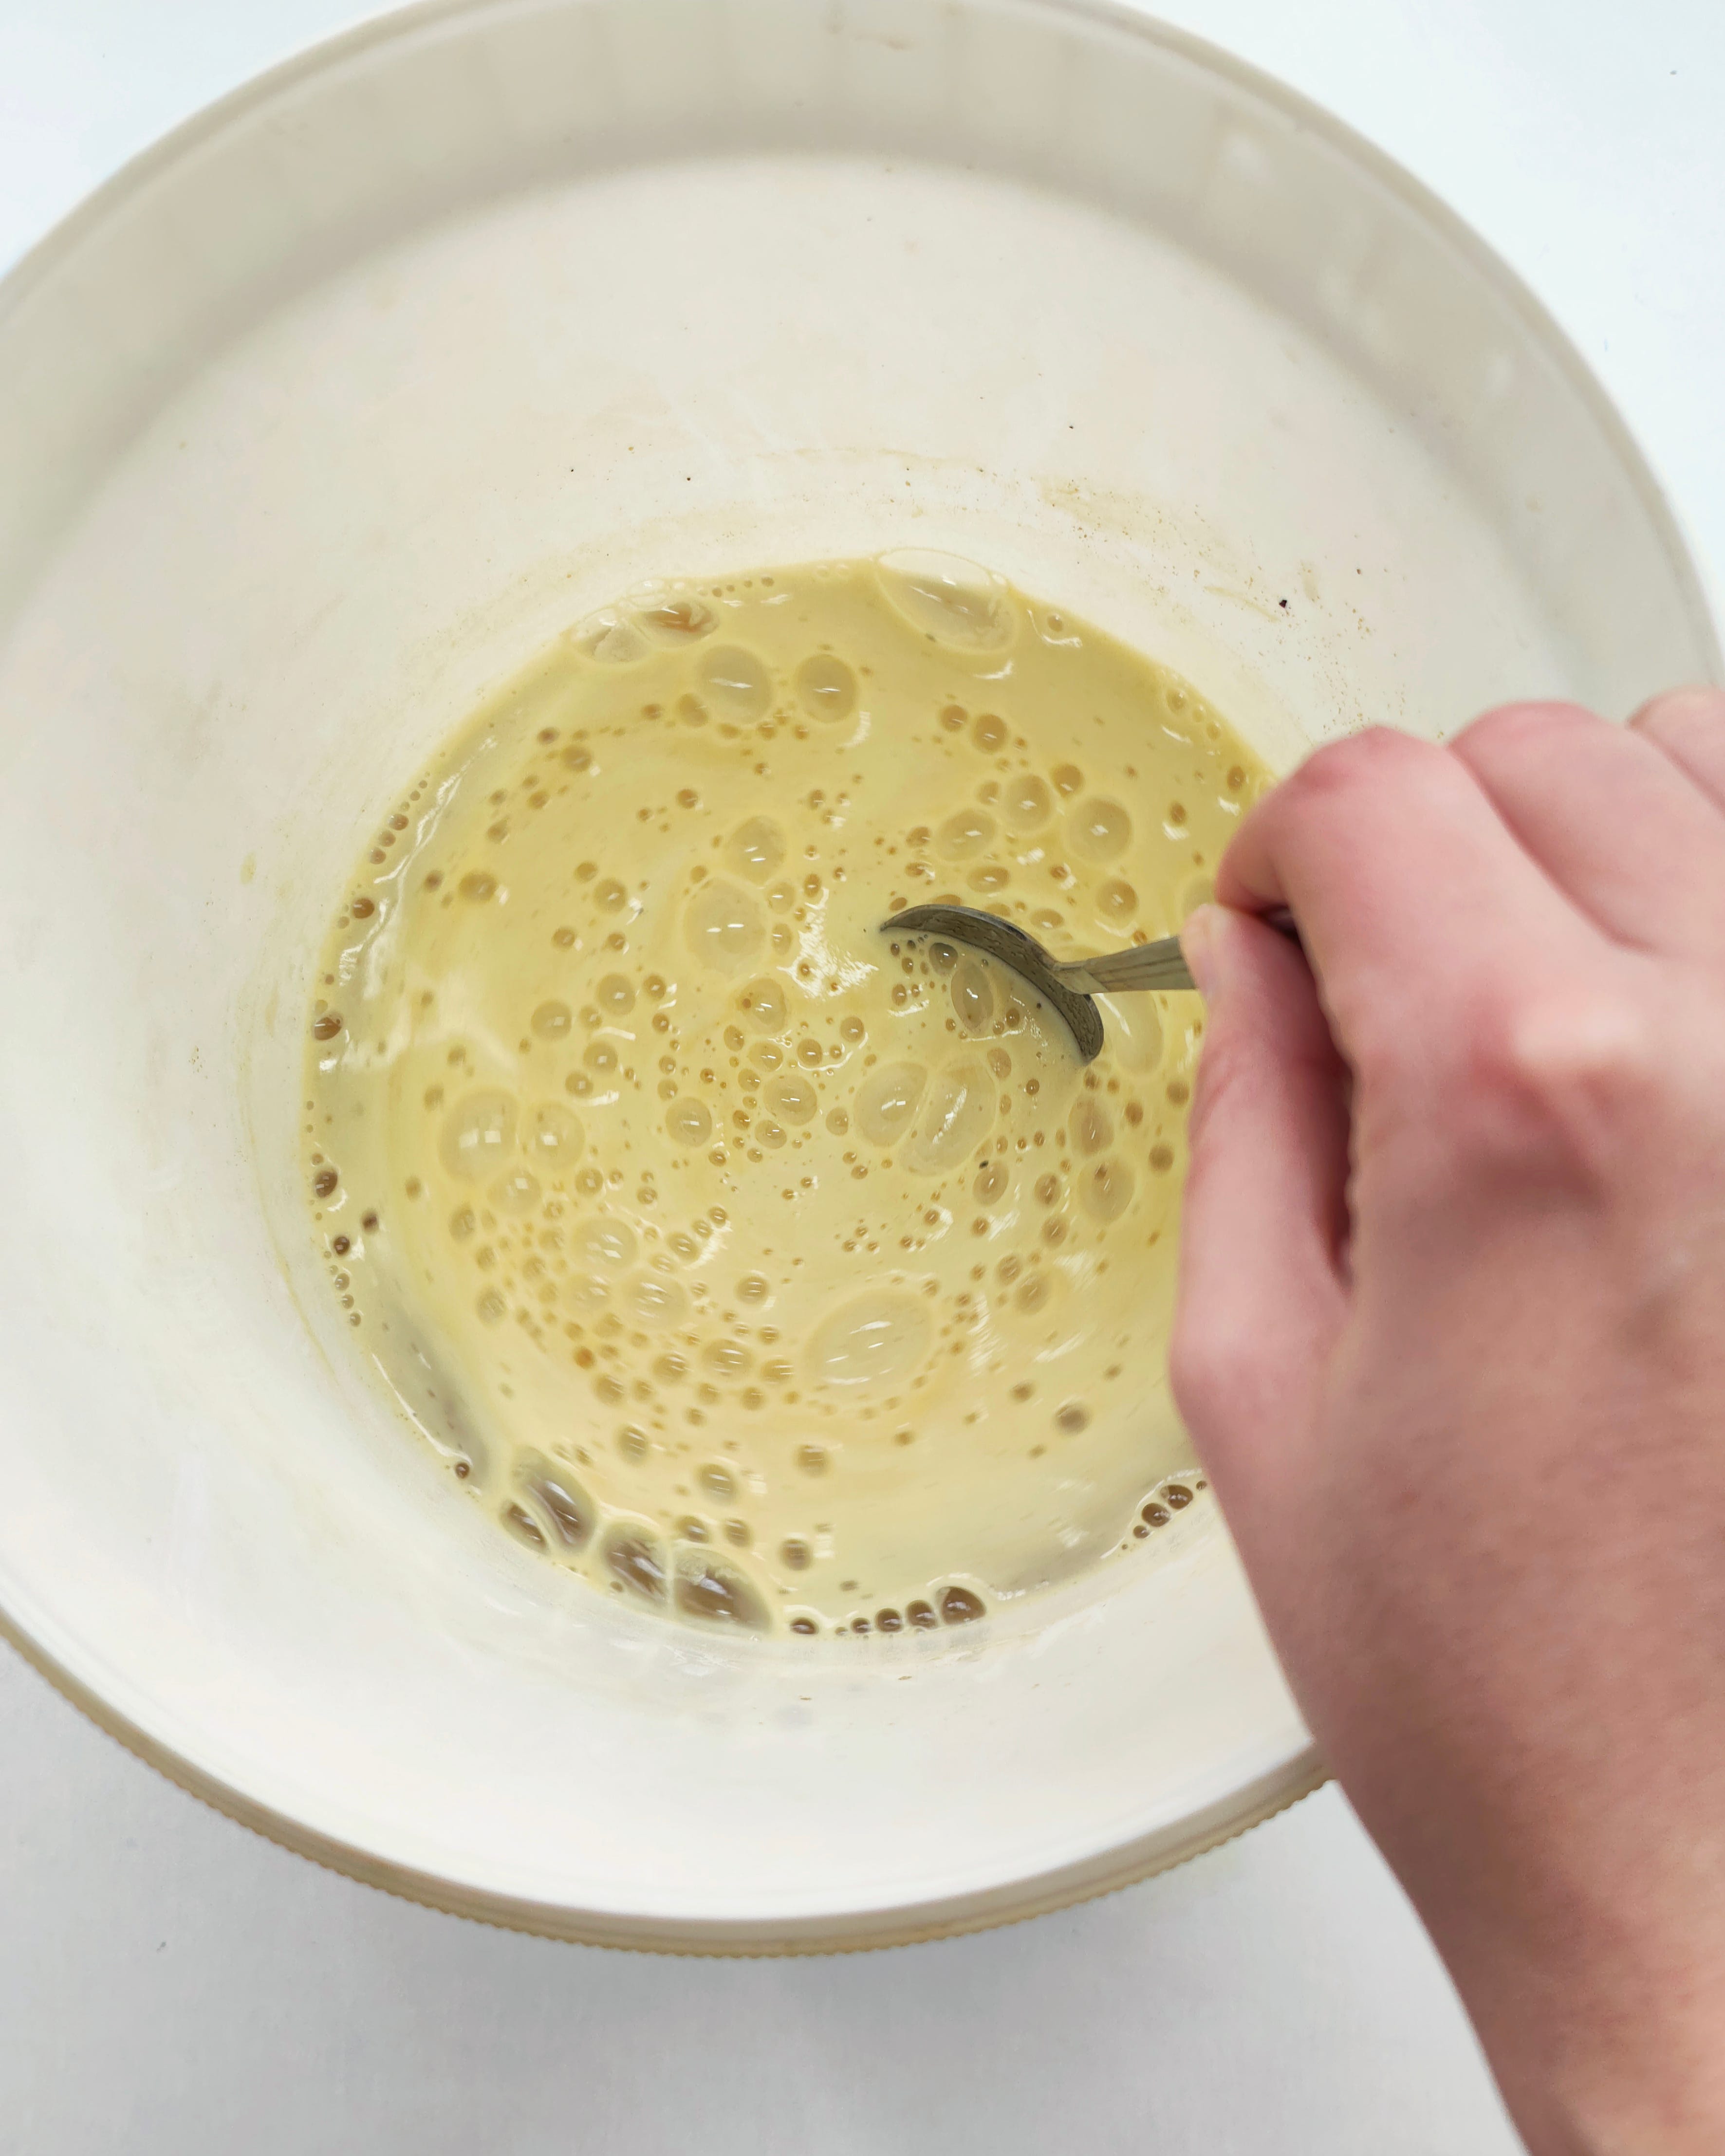
Weight around 10g of alum for every 1L of the dye bath. If your dyebath is still quite strong, you might need more alum, to bind all the dye particles. Dissolve alum into your warm dye bath. Alum should bind the dye particles quickly and you’ll see small particles floating in the liquid.

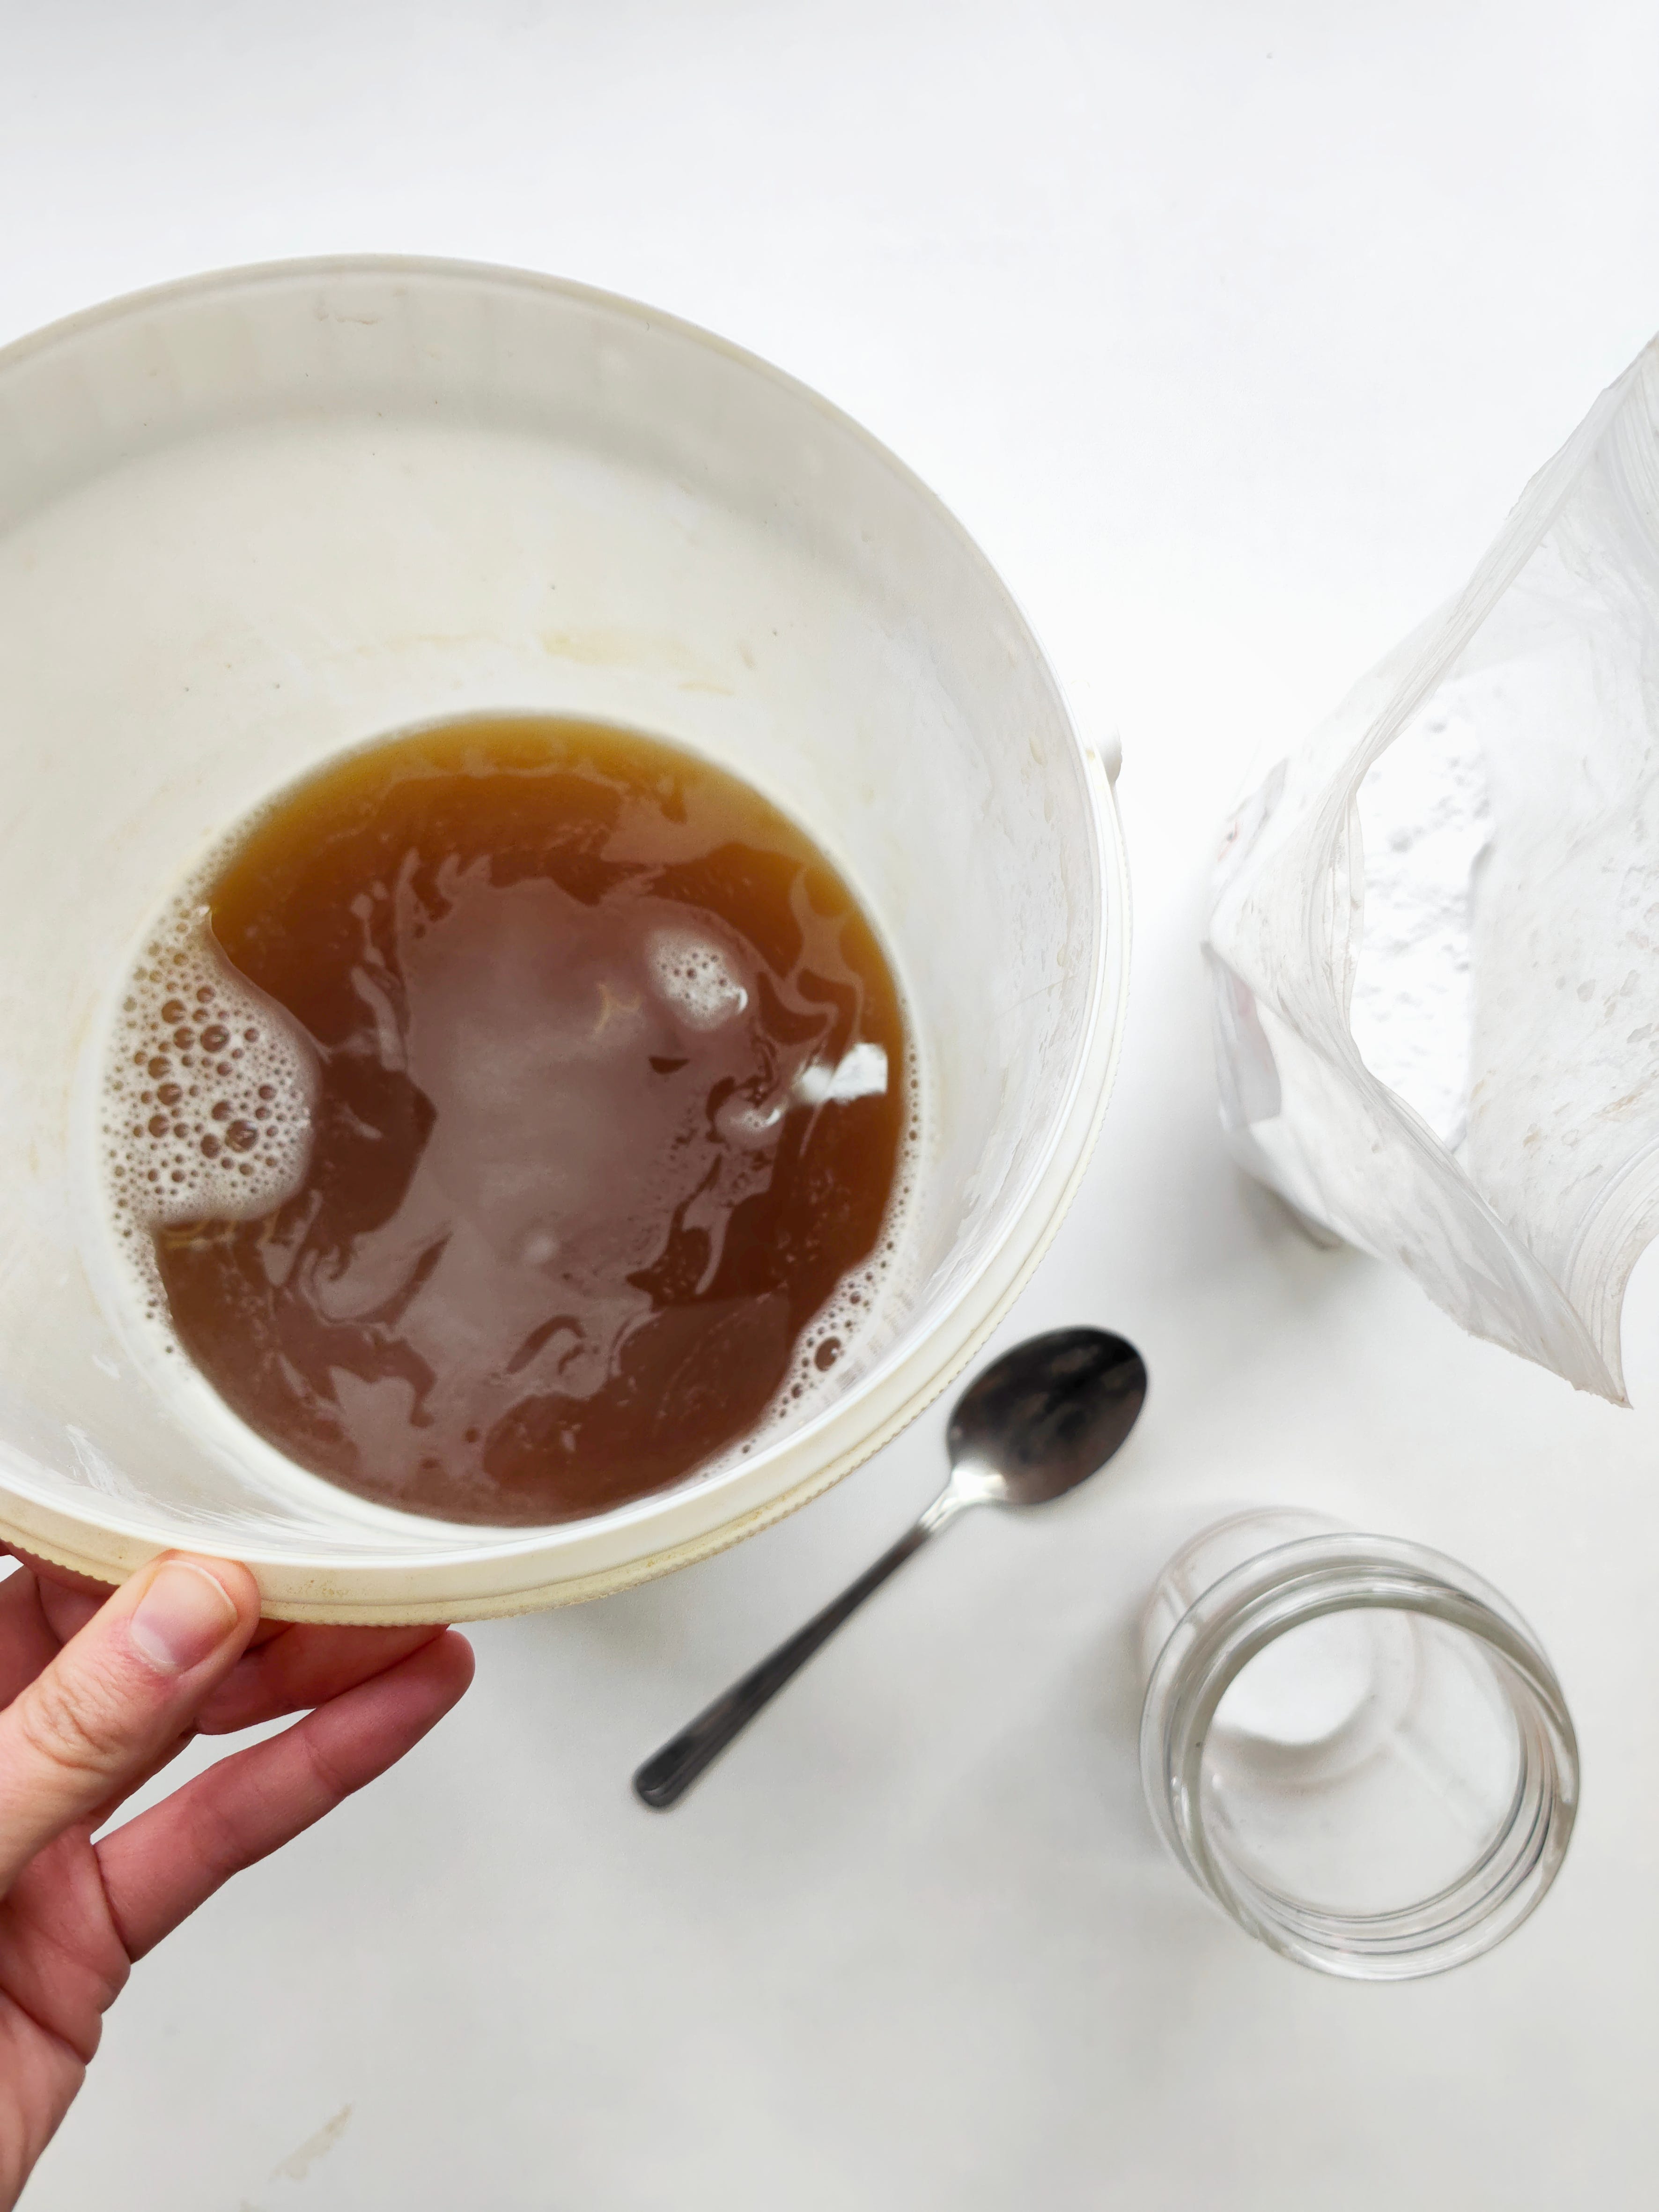
Alum makes the liquid acidic, so now it’s time to neutralize it with soda ash, which is alkaline. This ingredient will react with the acidic liquid and produce a considerable amount of foam. Make sure to use a tall container with enough space for the foam to rise. You need around half of the weight of alum, so usually ca. 5g of soda ash for every 1L of the dye bath.
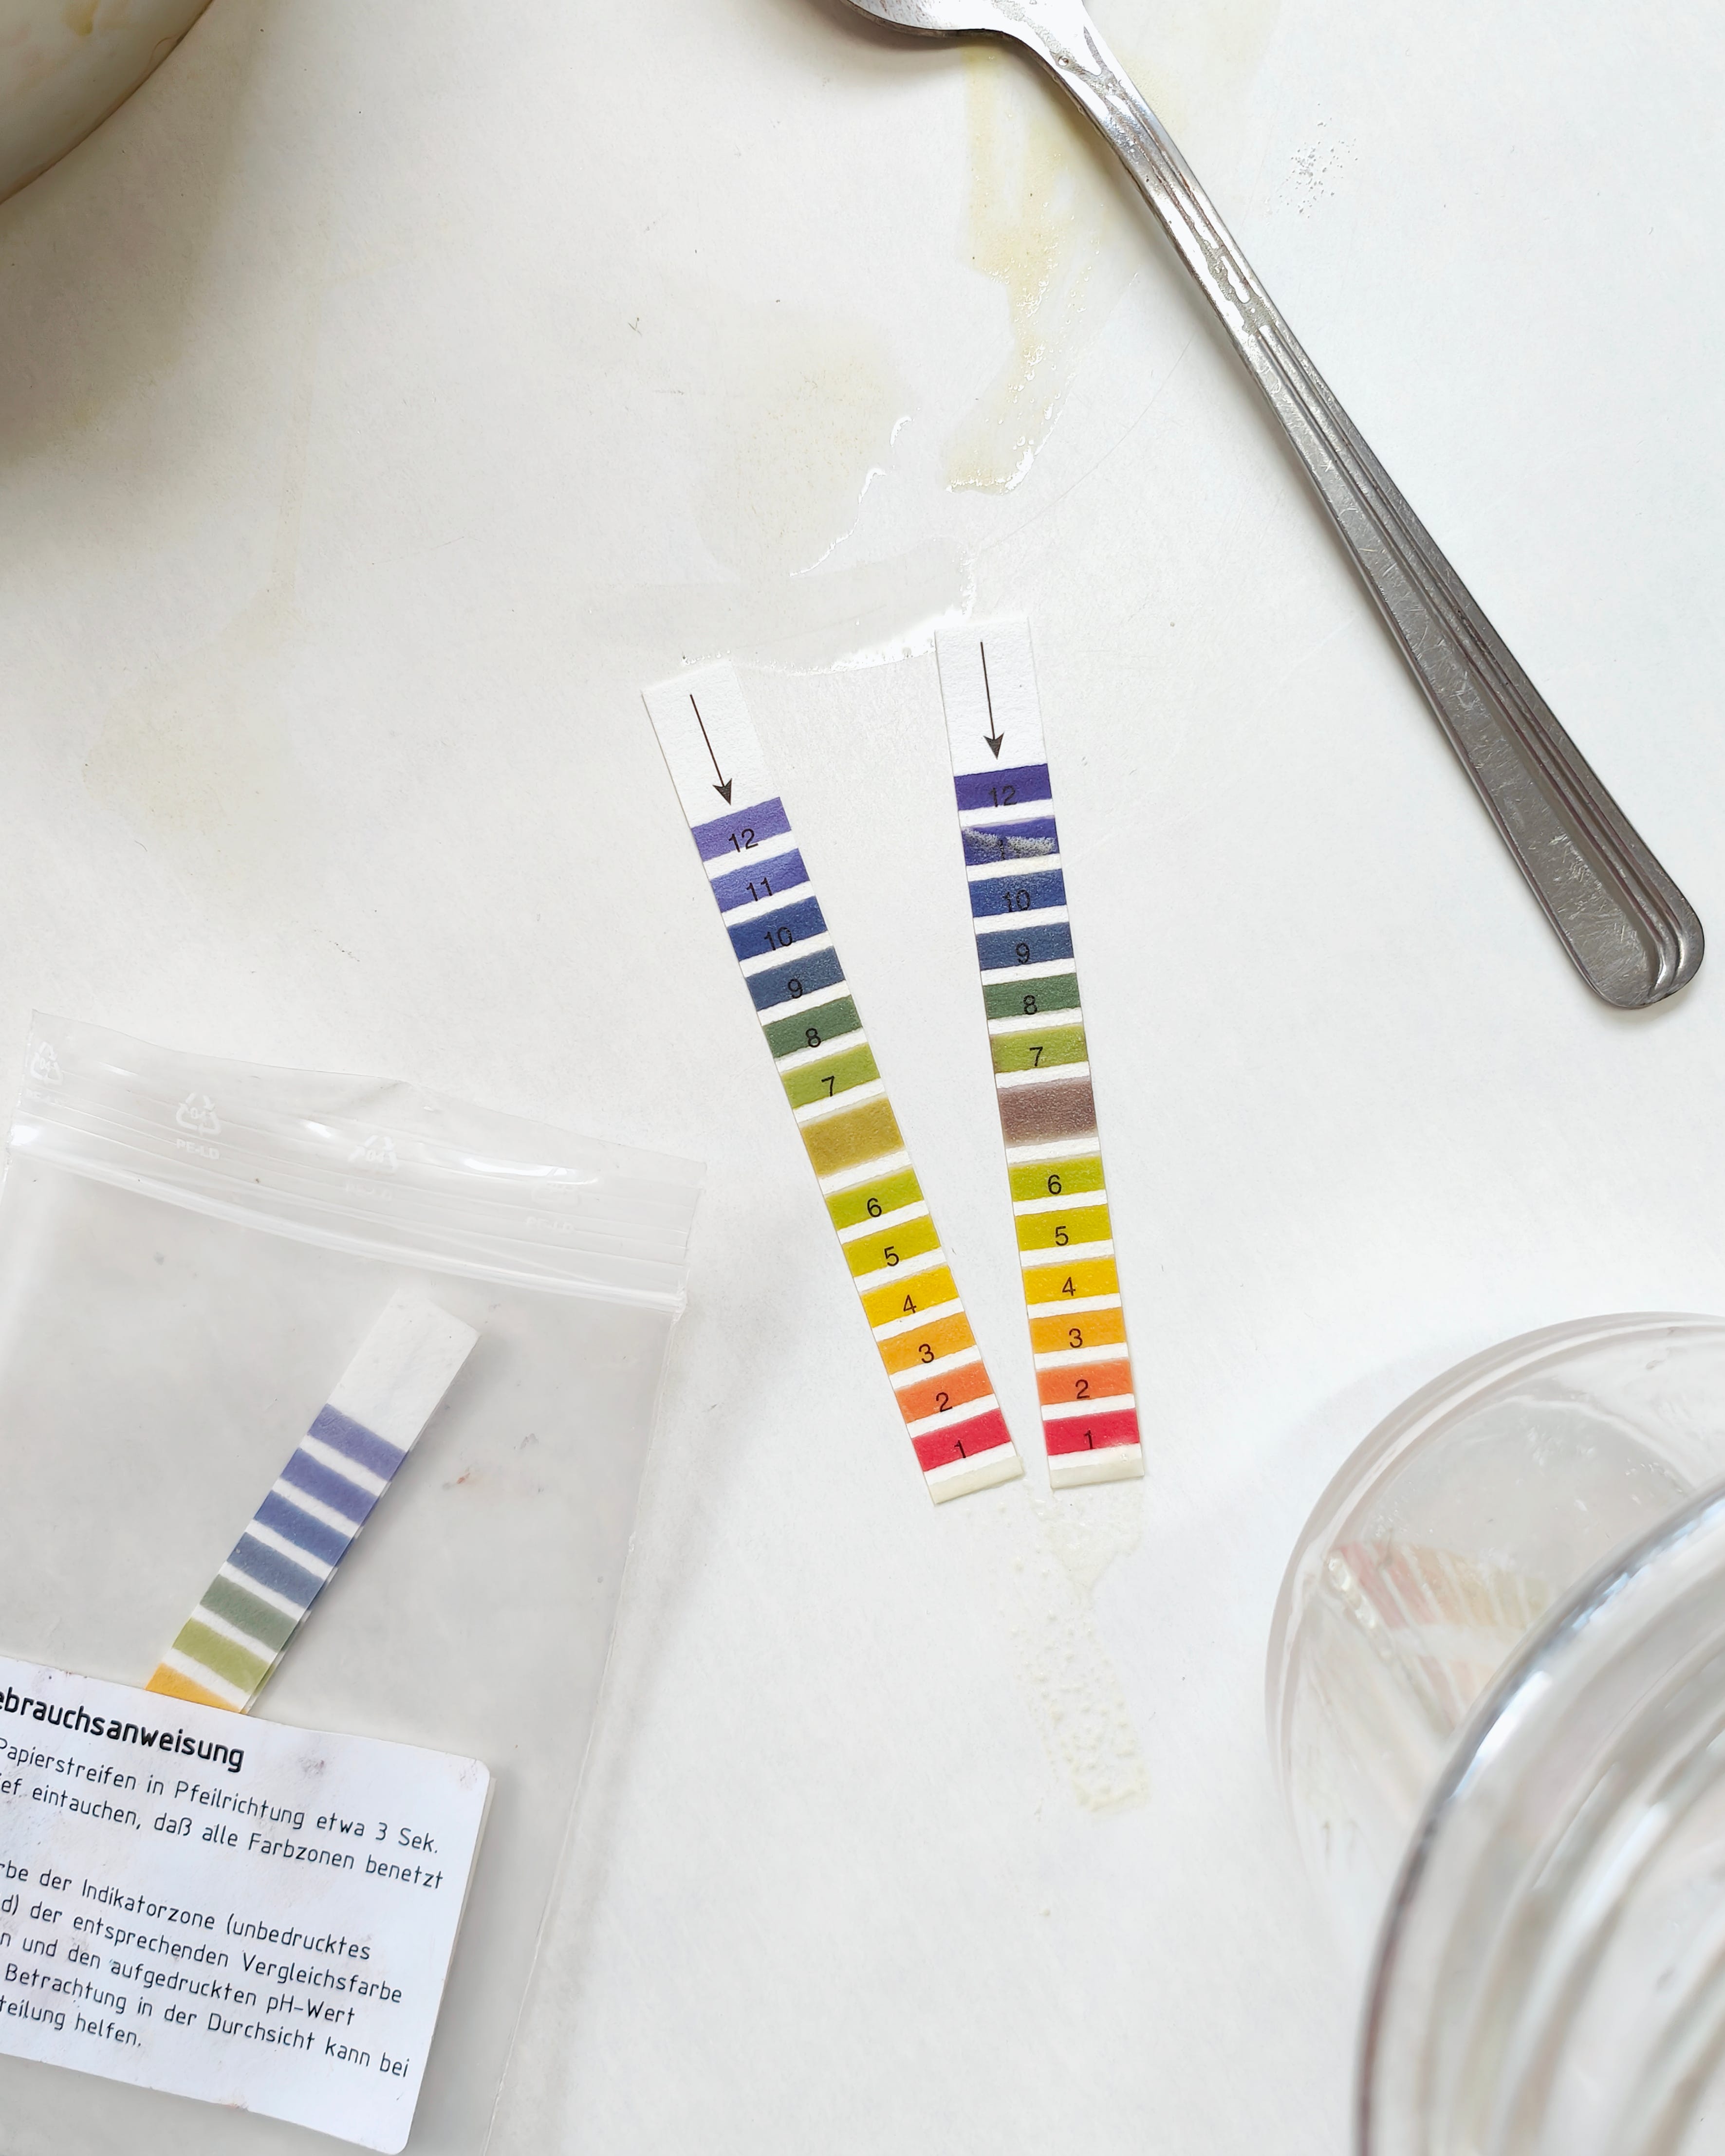
Once both ingredients are combined, check the pH level. It should be neutral (pH 7). I went over 7 on my first try, so I had to add some more alum to push the pH level down.
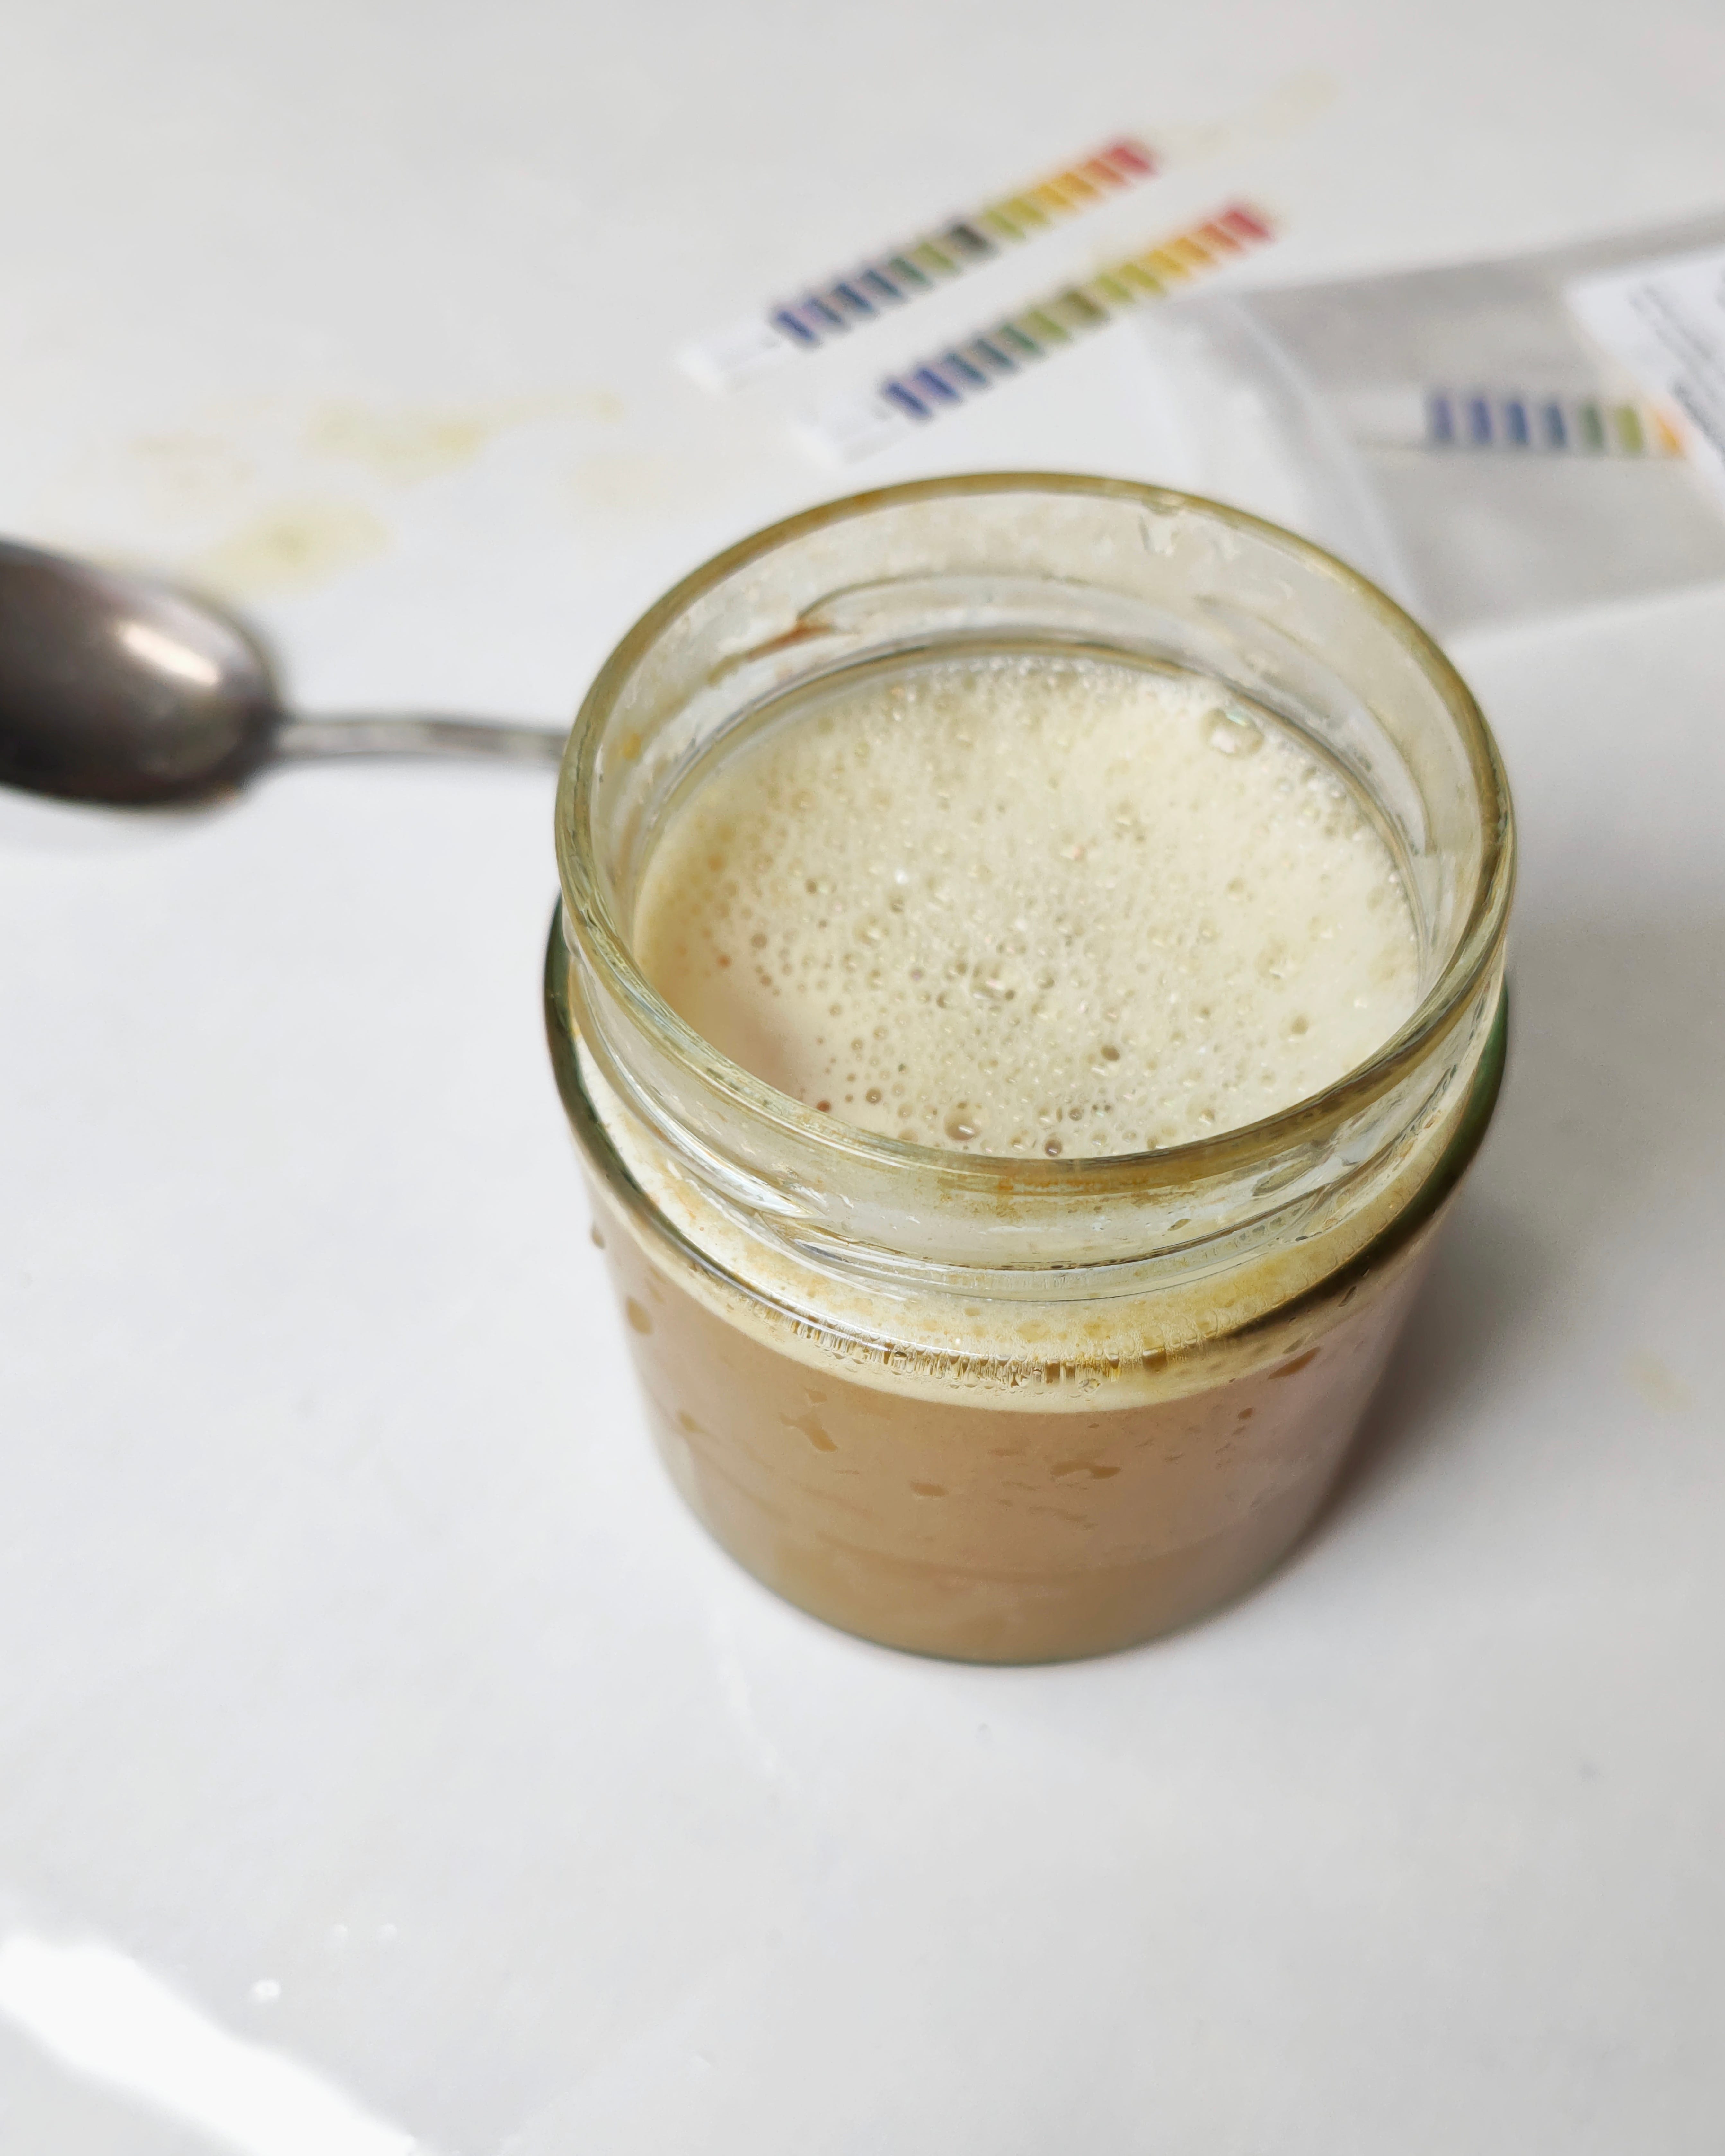
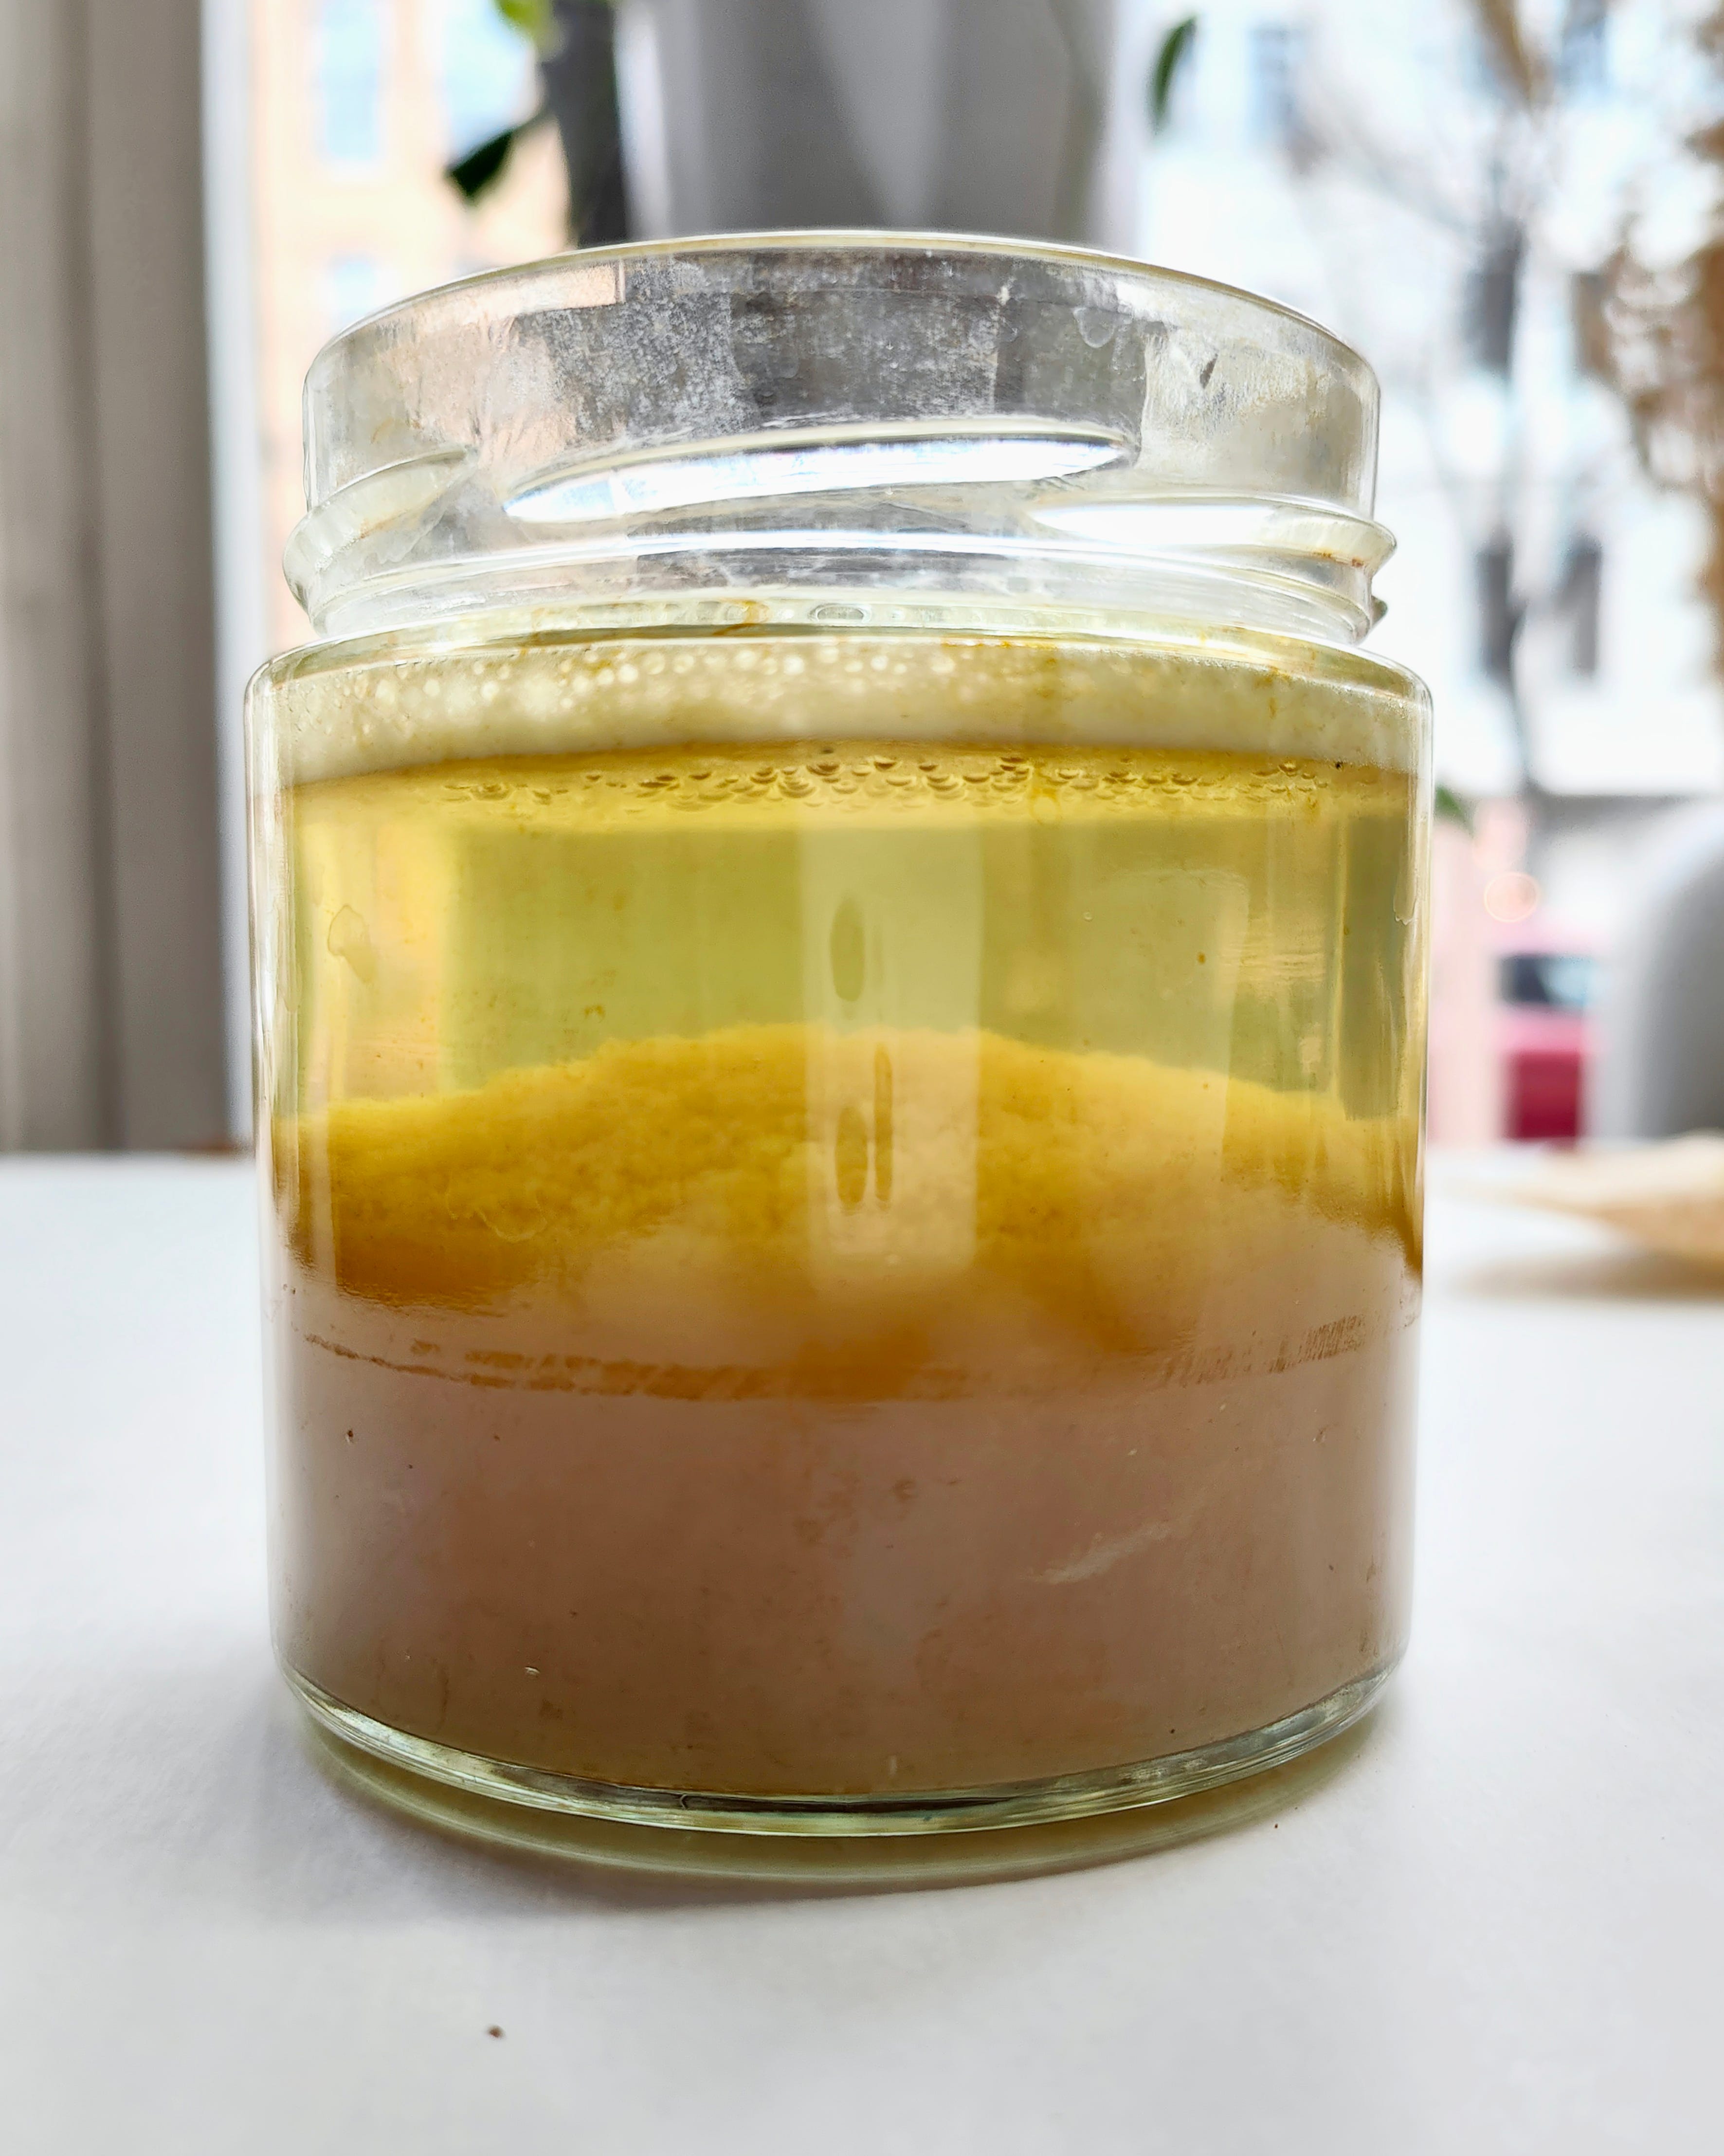
I moved some of the liquid to a glass jar to show you what’s happening now. The pigments are slowly falling to the bottom of the container and clear water is staying on top. You can see in my jar that the water still has some dye dissolved in it, hence the pale yellow color. I could add some more alum to bind it, but I think I’ll have enough pigment to play with anyway, so I left it the way it is.
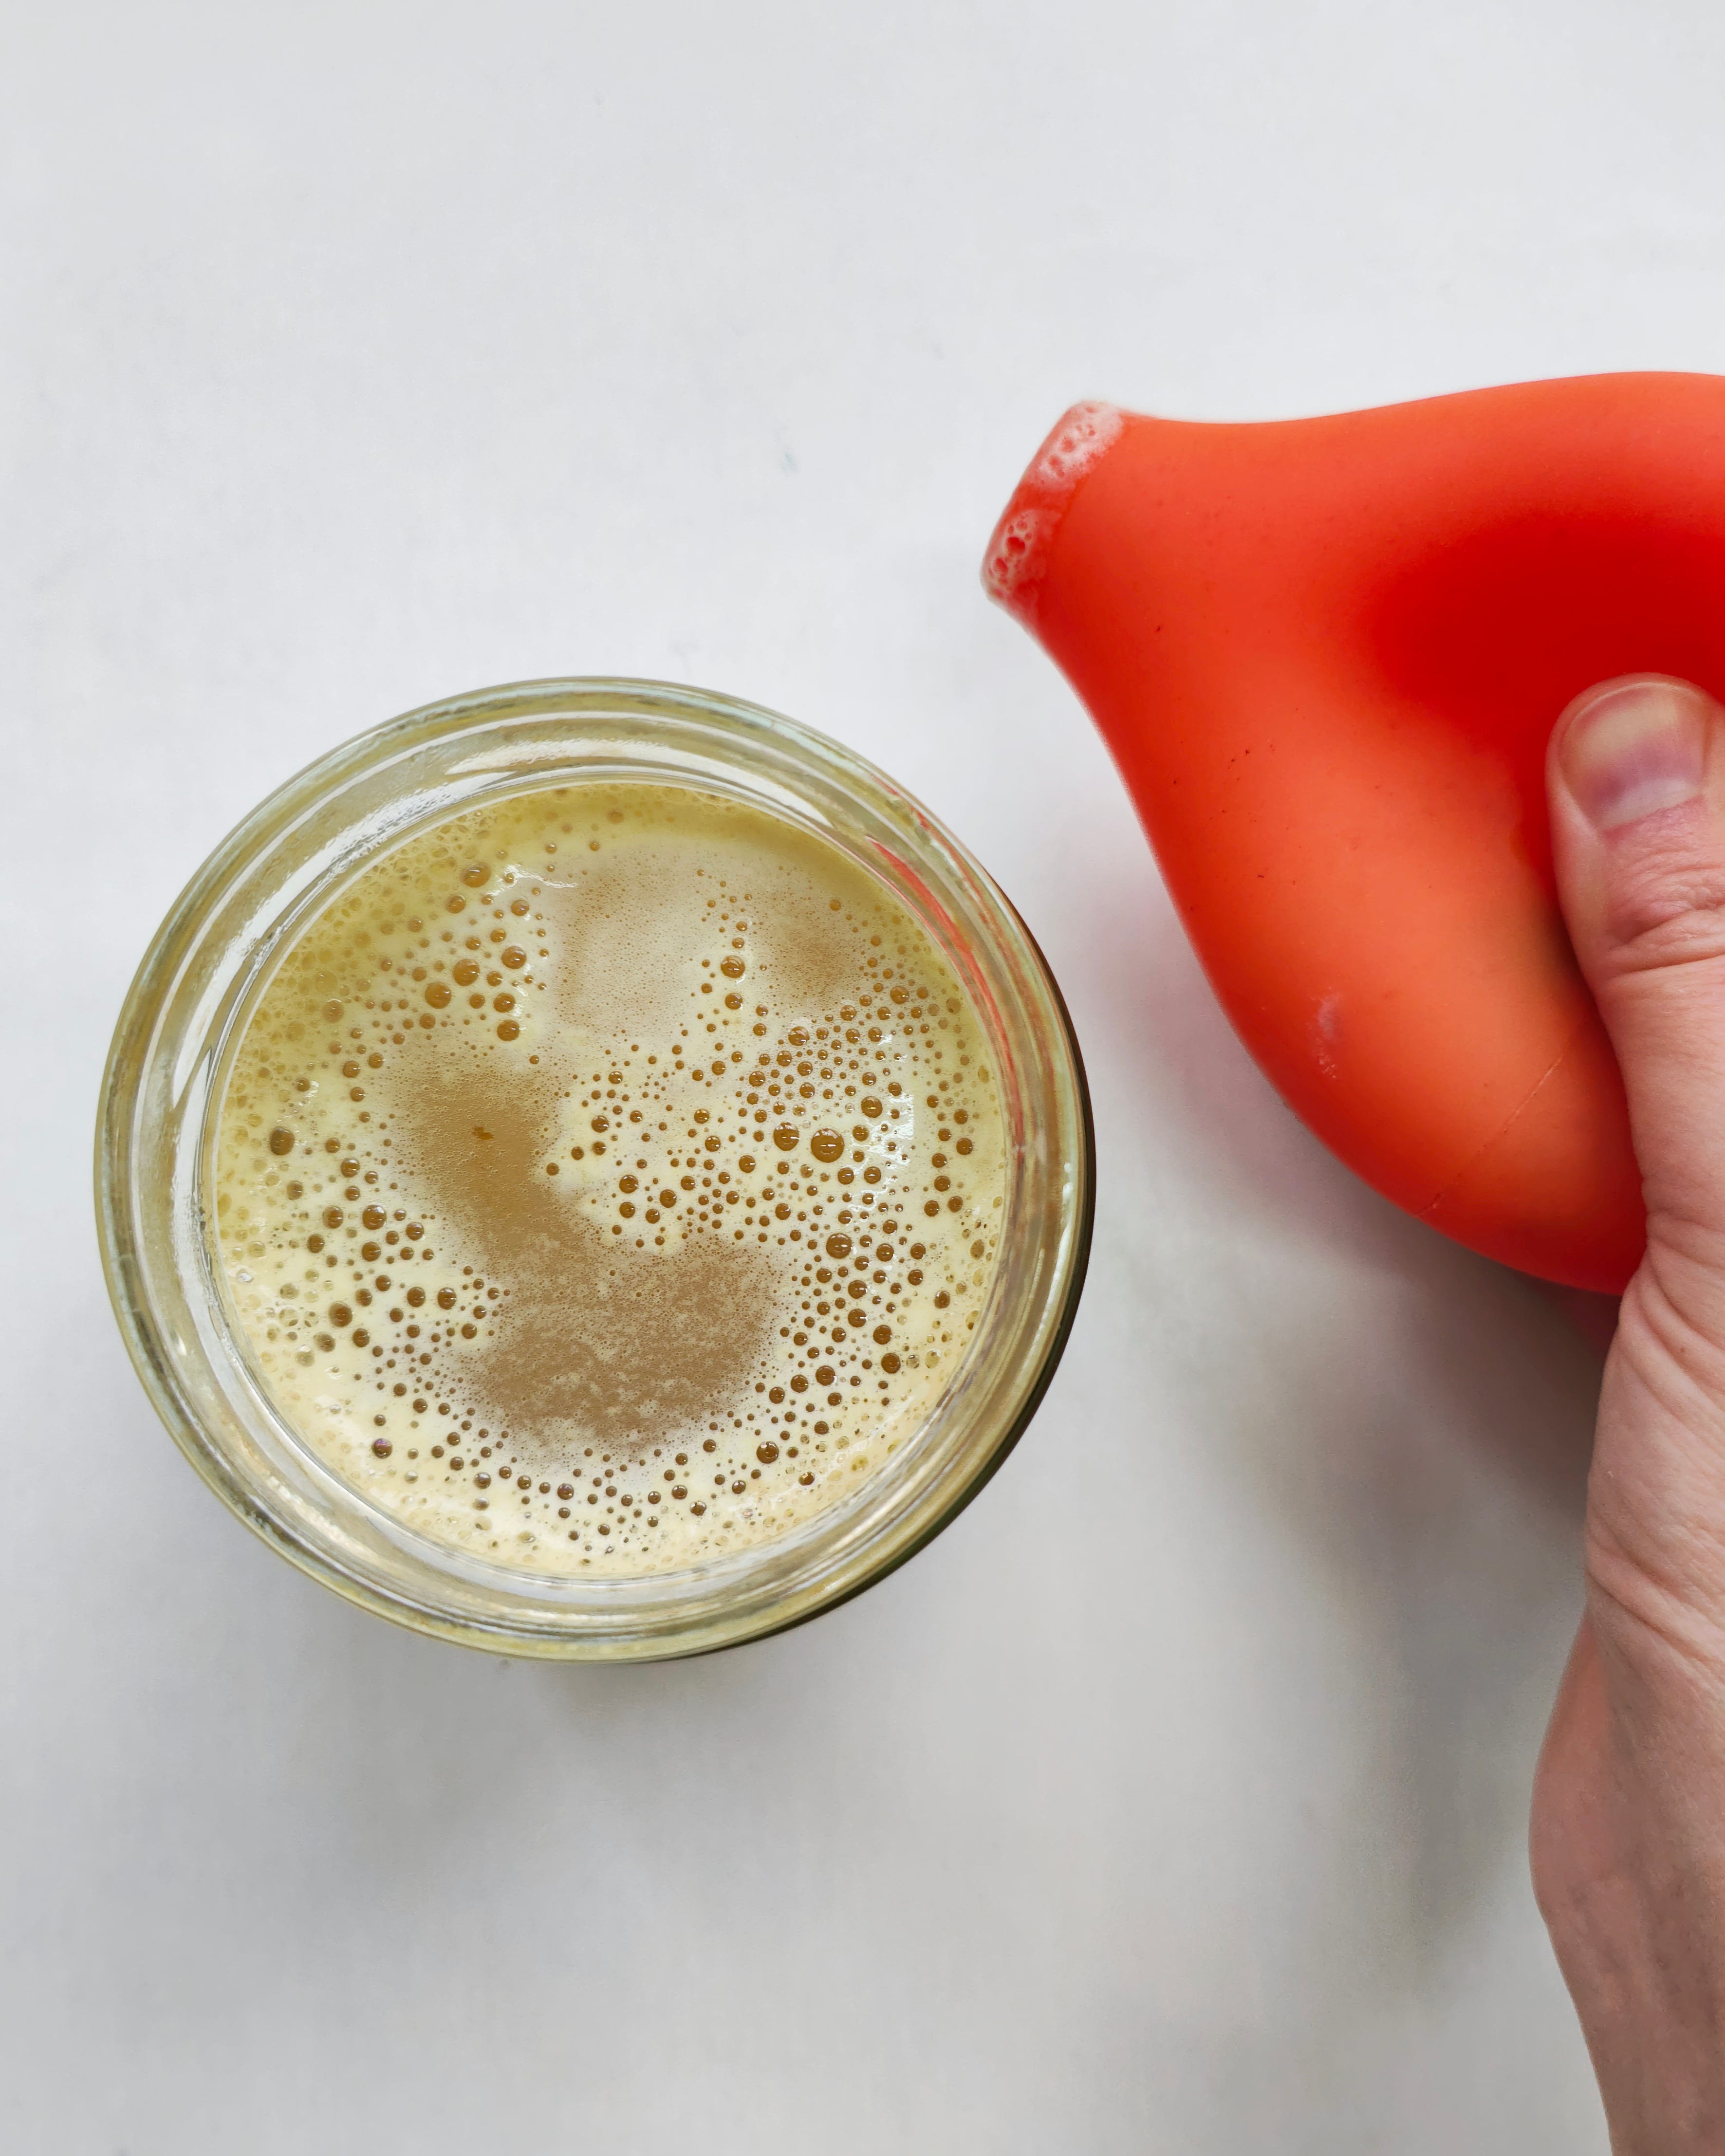
Once the pigments settle to the bottom, I use a rubber pear to remove the water from the top. You can also carefully pour it out, making sure that you don’t disturb the sediment.
Time to filter the pigment. I don’t have a professional setup, so I am using coffee filters attached to a glass jar. I pour some liquid very slowly. I noticed you either need super high-quality filters (which are expensive), or you need to go slow, otherwise, the filters might break. So I go slow, pouring just a few drops until the pigments start settling on the walls of the filer. After a few minutes, it’s safe to pour in bigger portions.
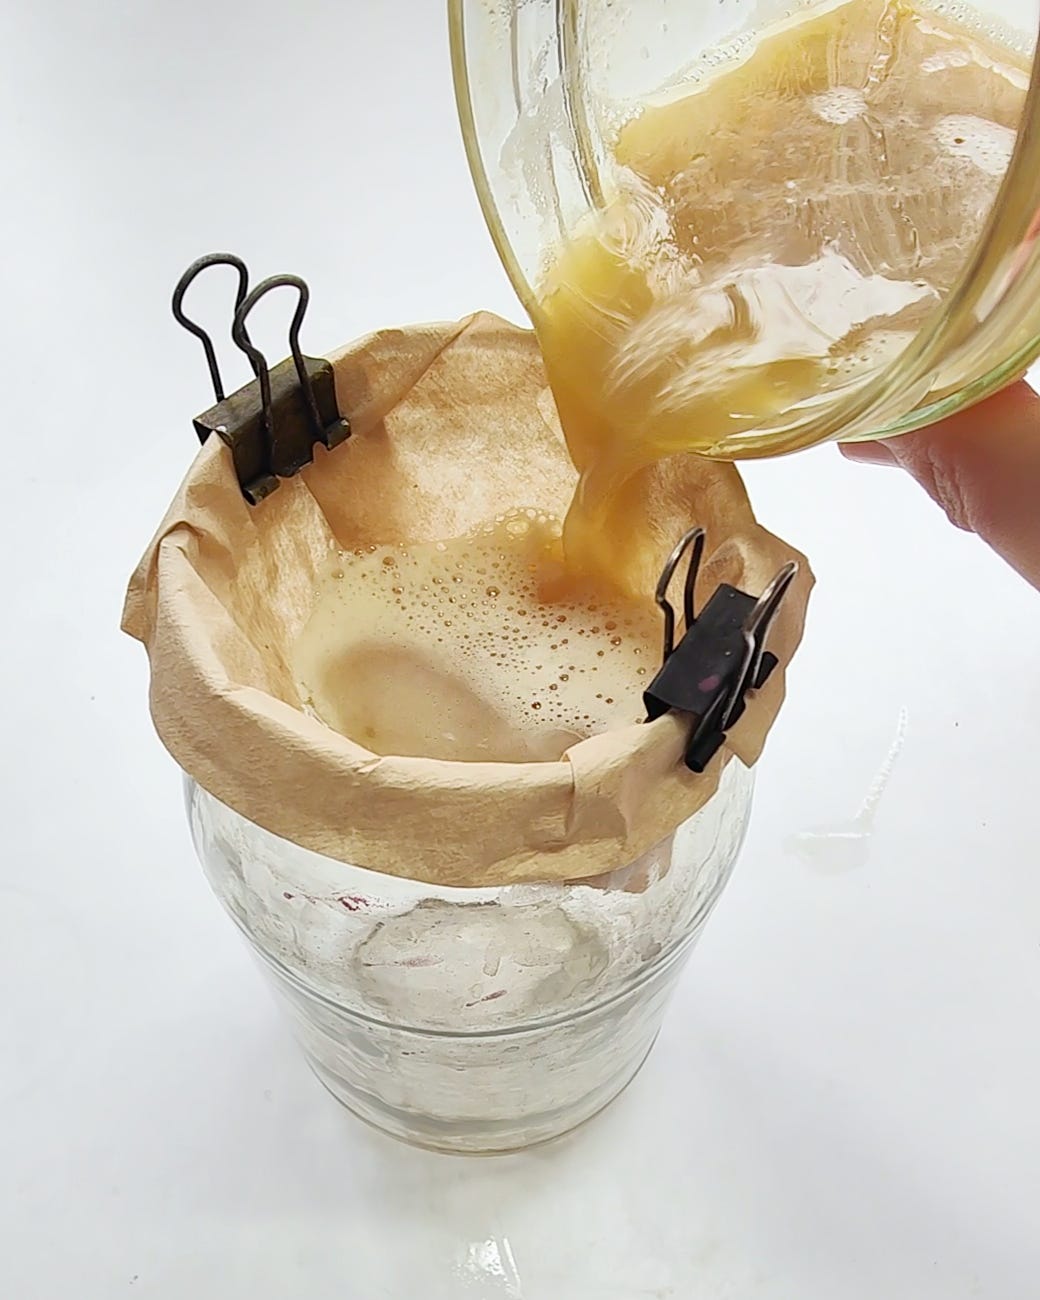
From 2 L of leftover dyebath, I usually produce 4 filers worth of sediment. Wait for the water to filter through. What you should see at the bottom of the jar should be clear water. All pigment should stay on top of the filter. Carefully take out the filters and lay them out to dry. It will take a few days for the remaining water to evaporate.
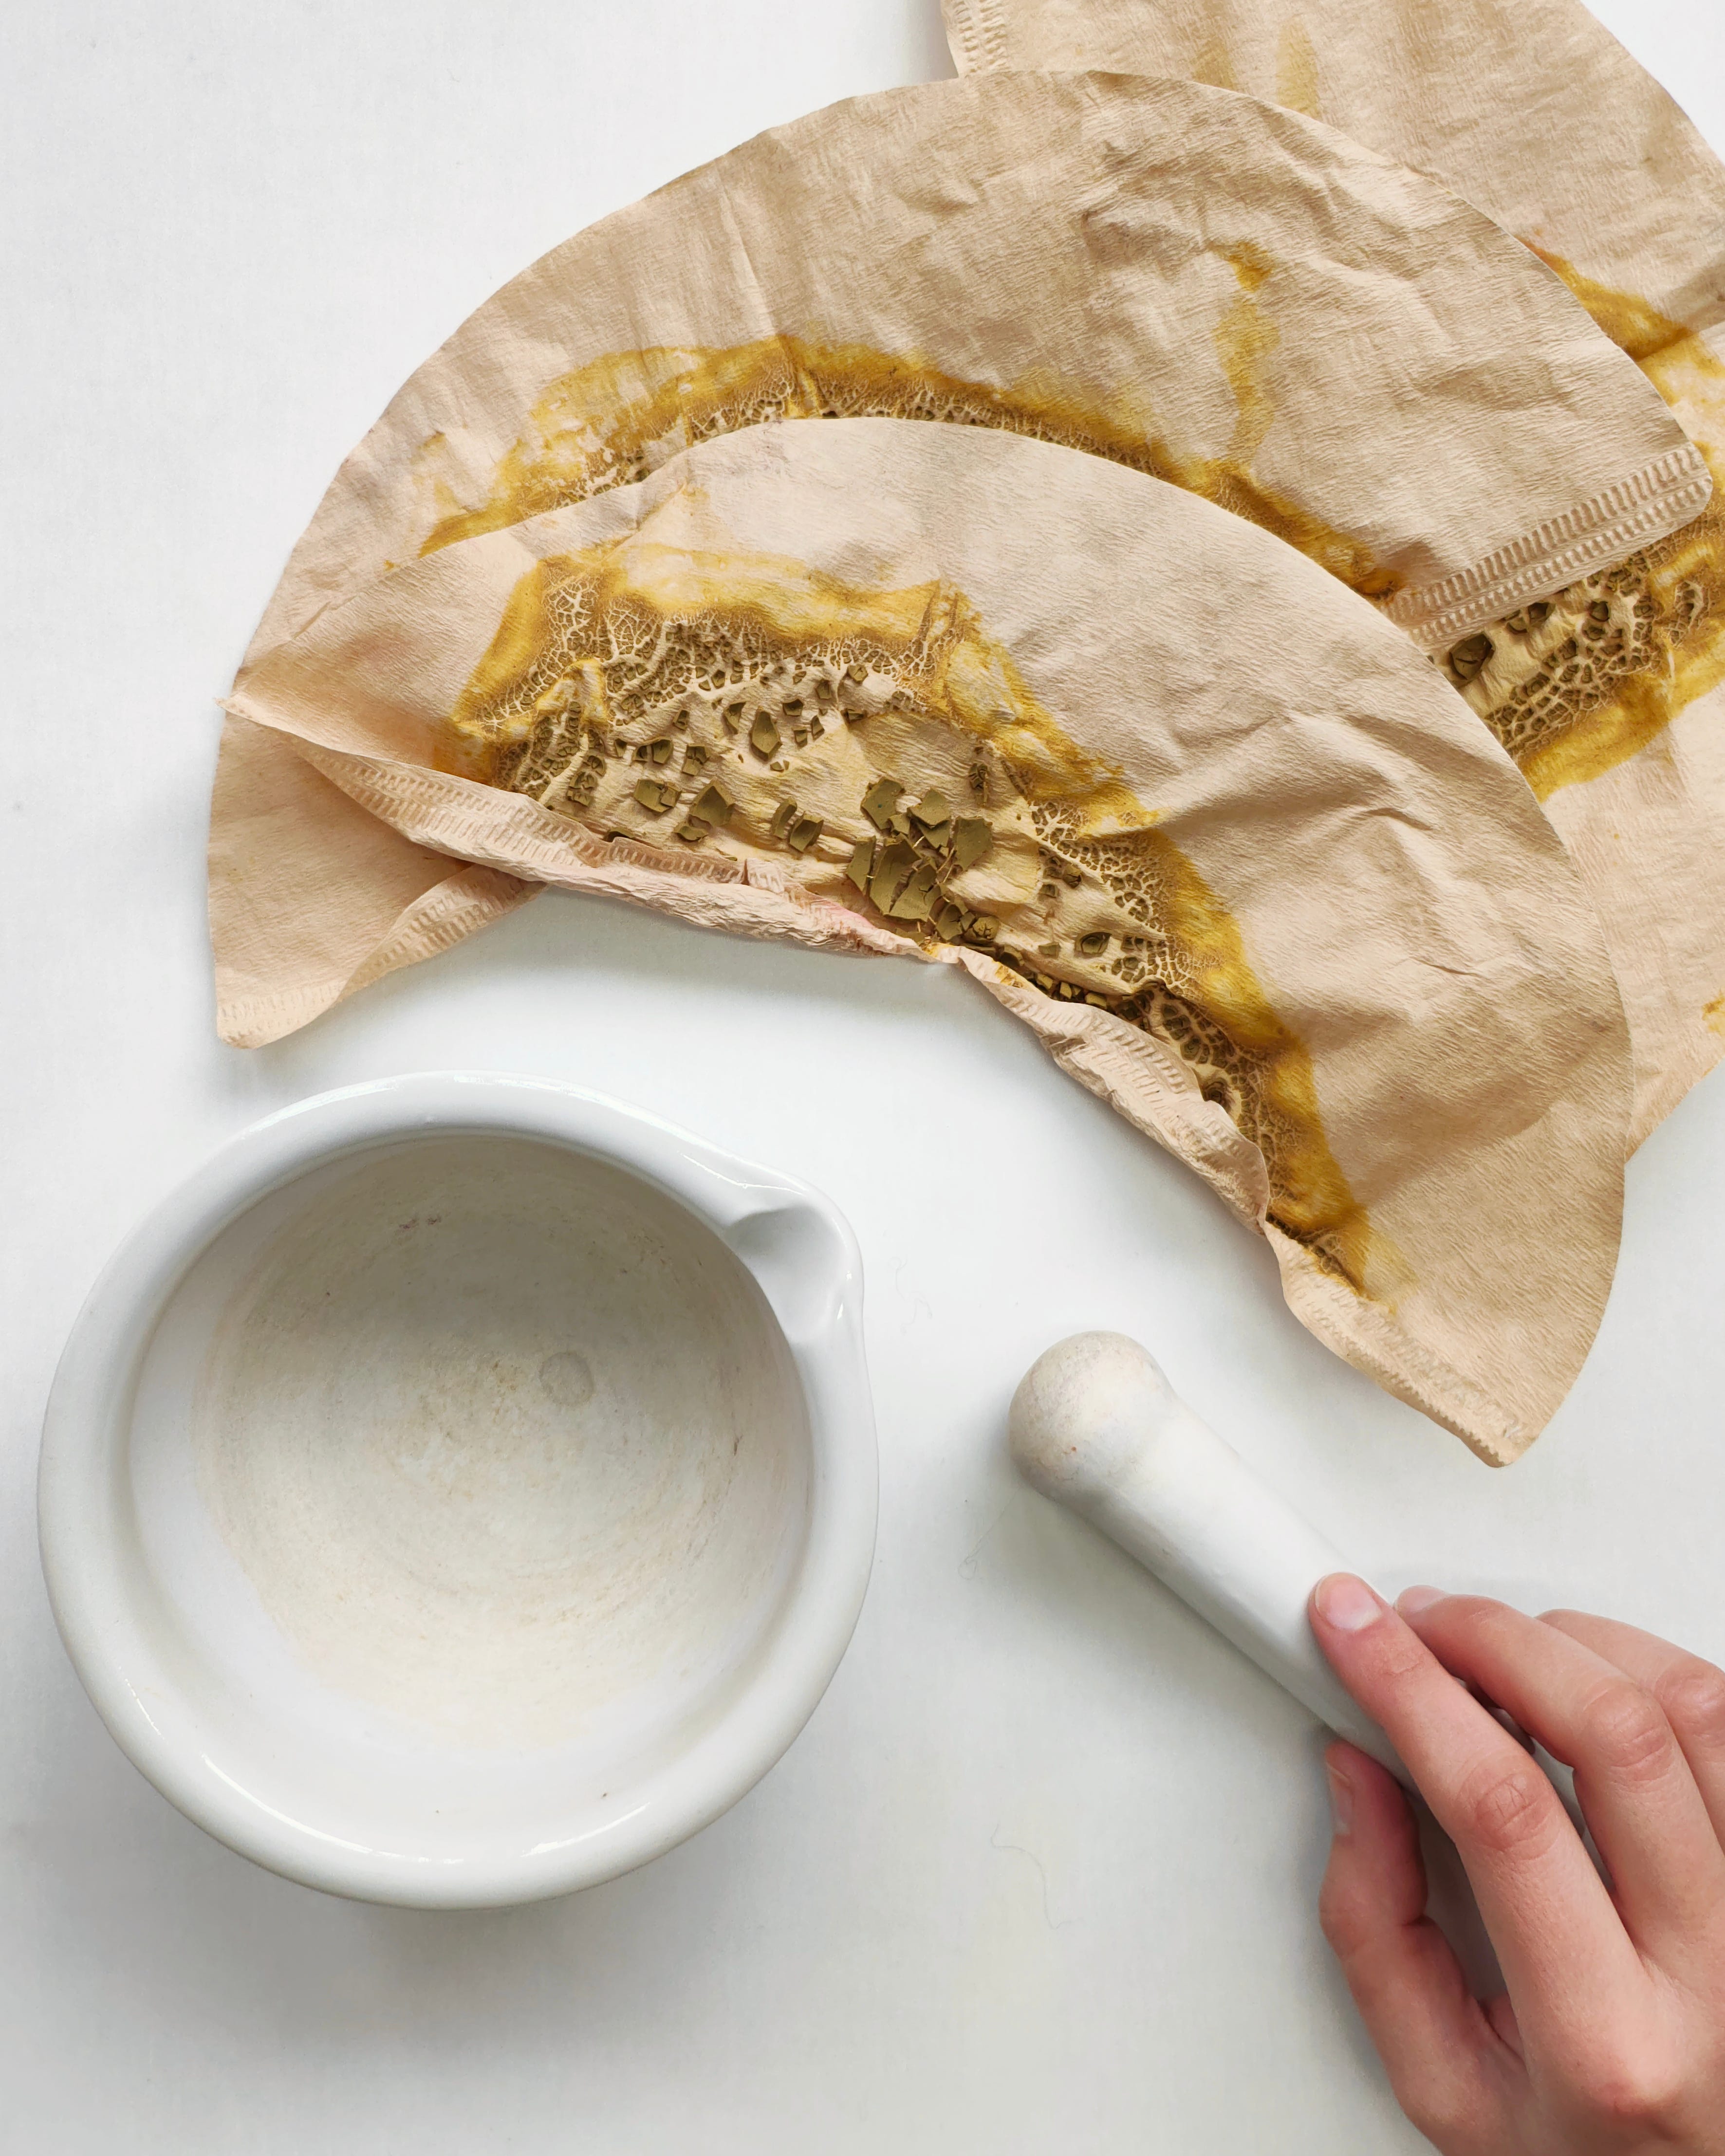
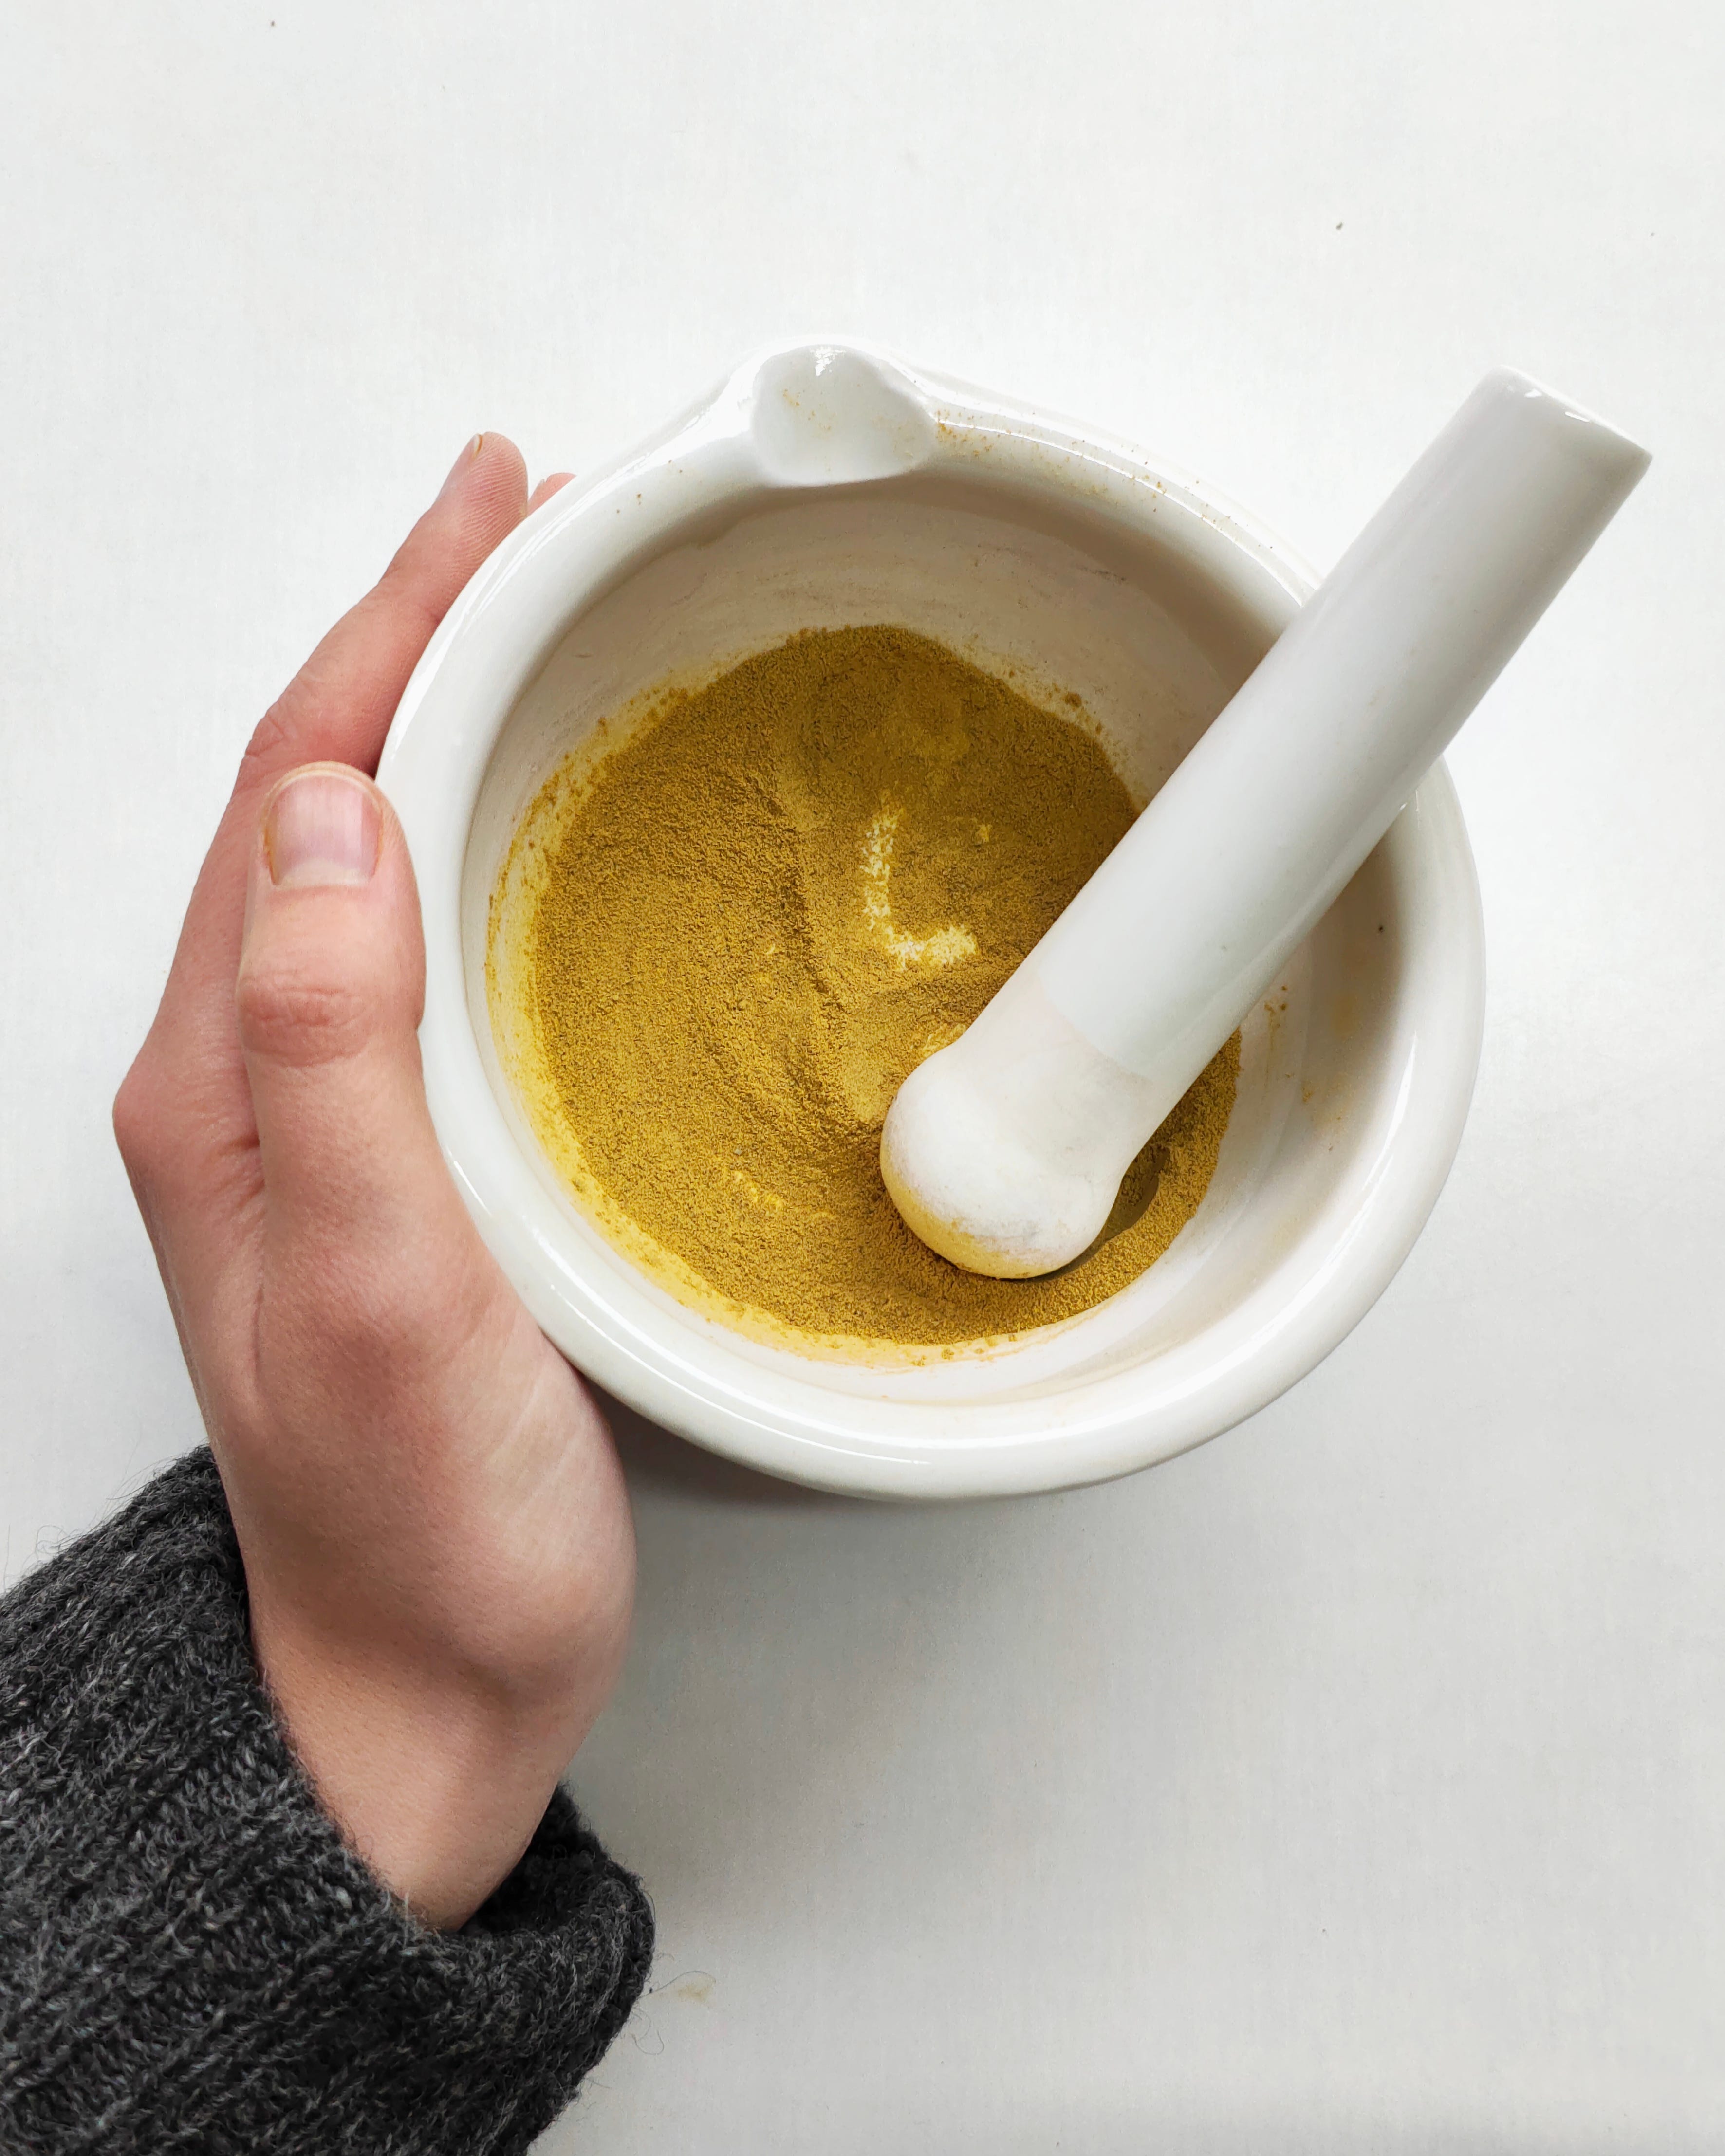
This is what the chunks of dry pigment look like after grinding. I use a porcelain mortar to grind them into finer form.
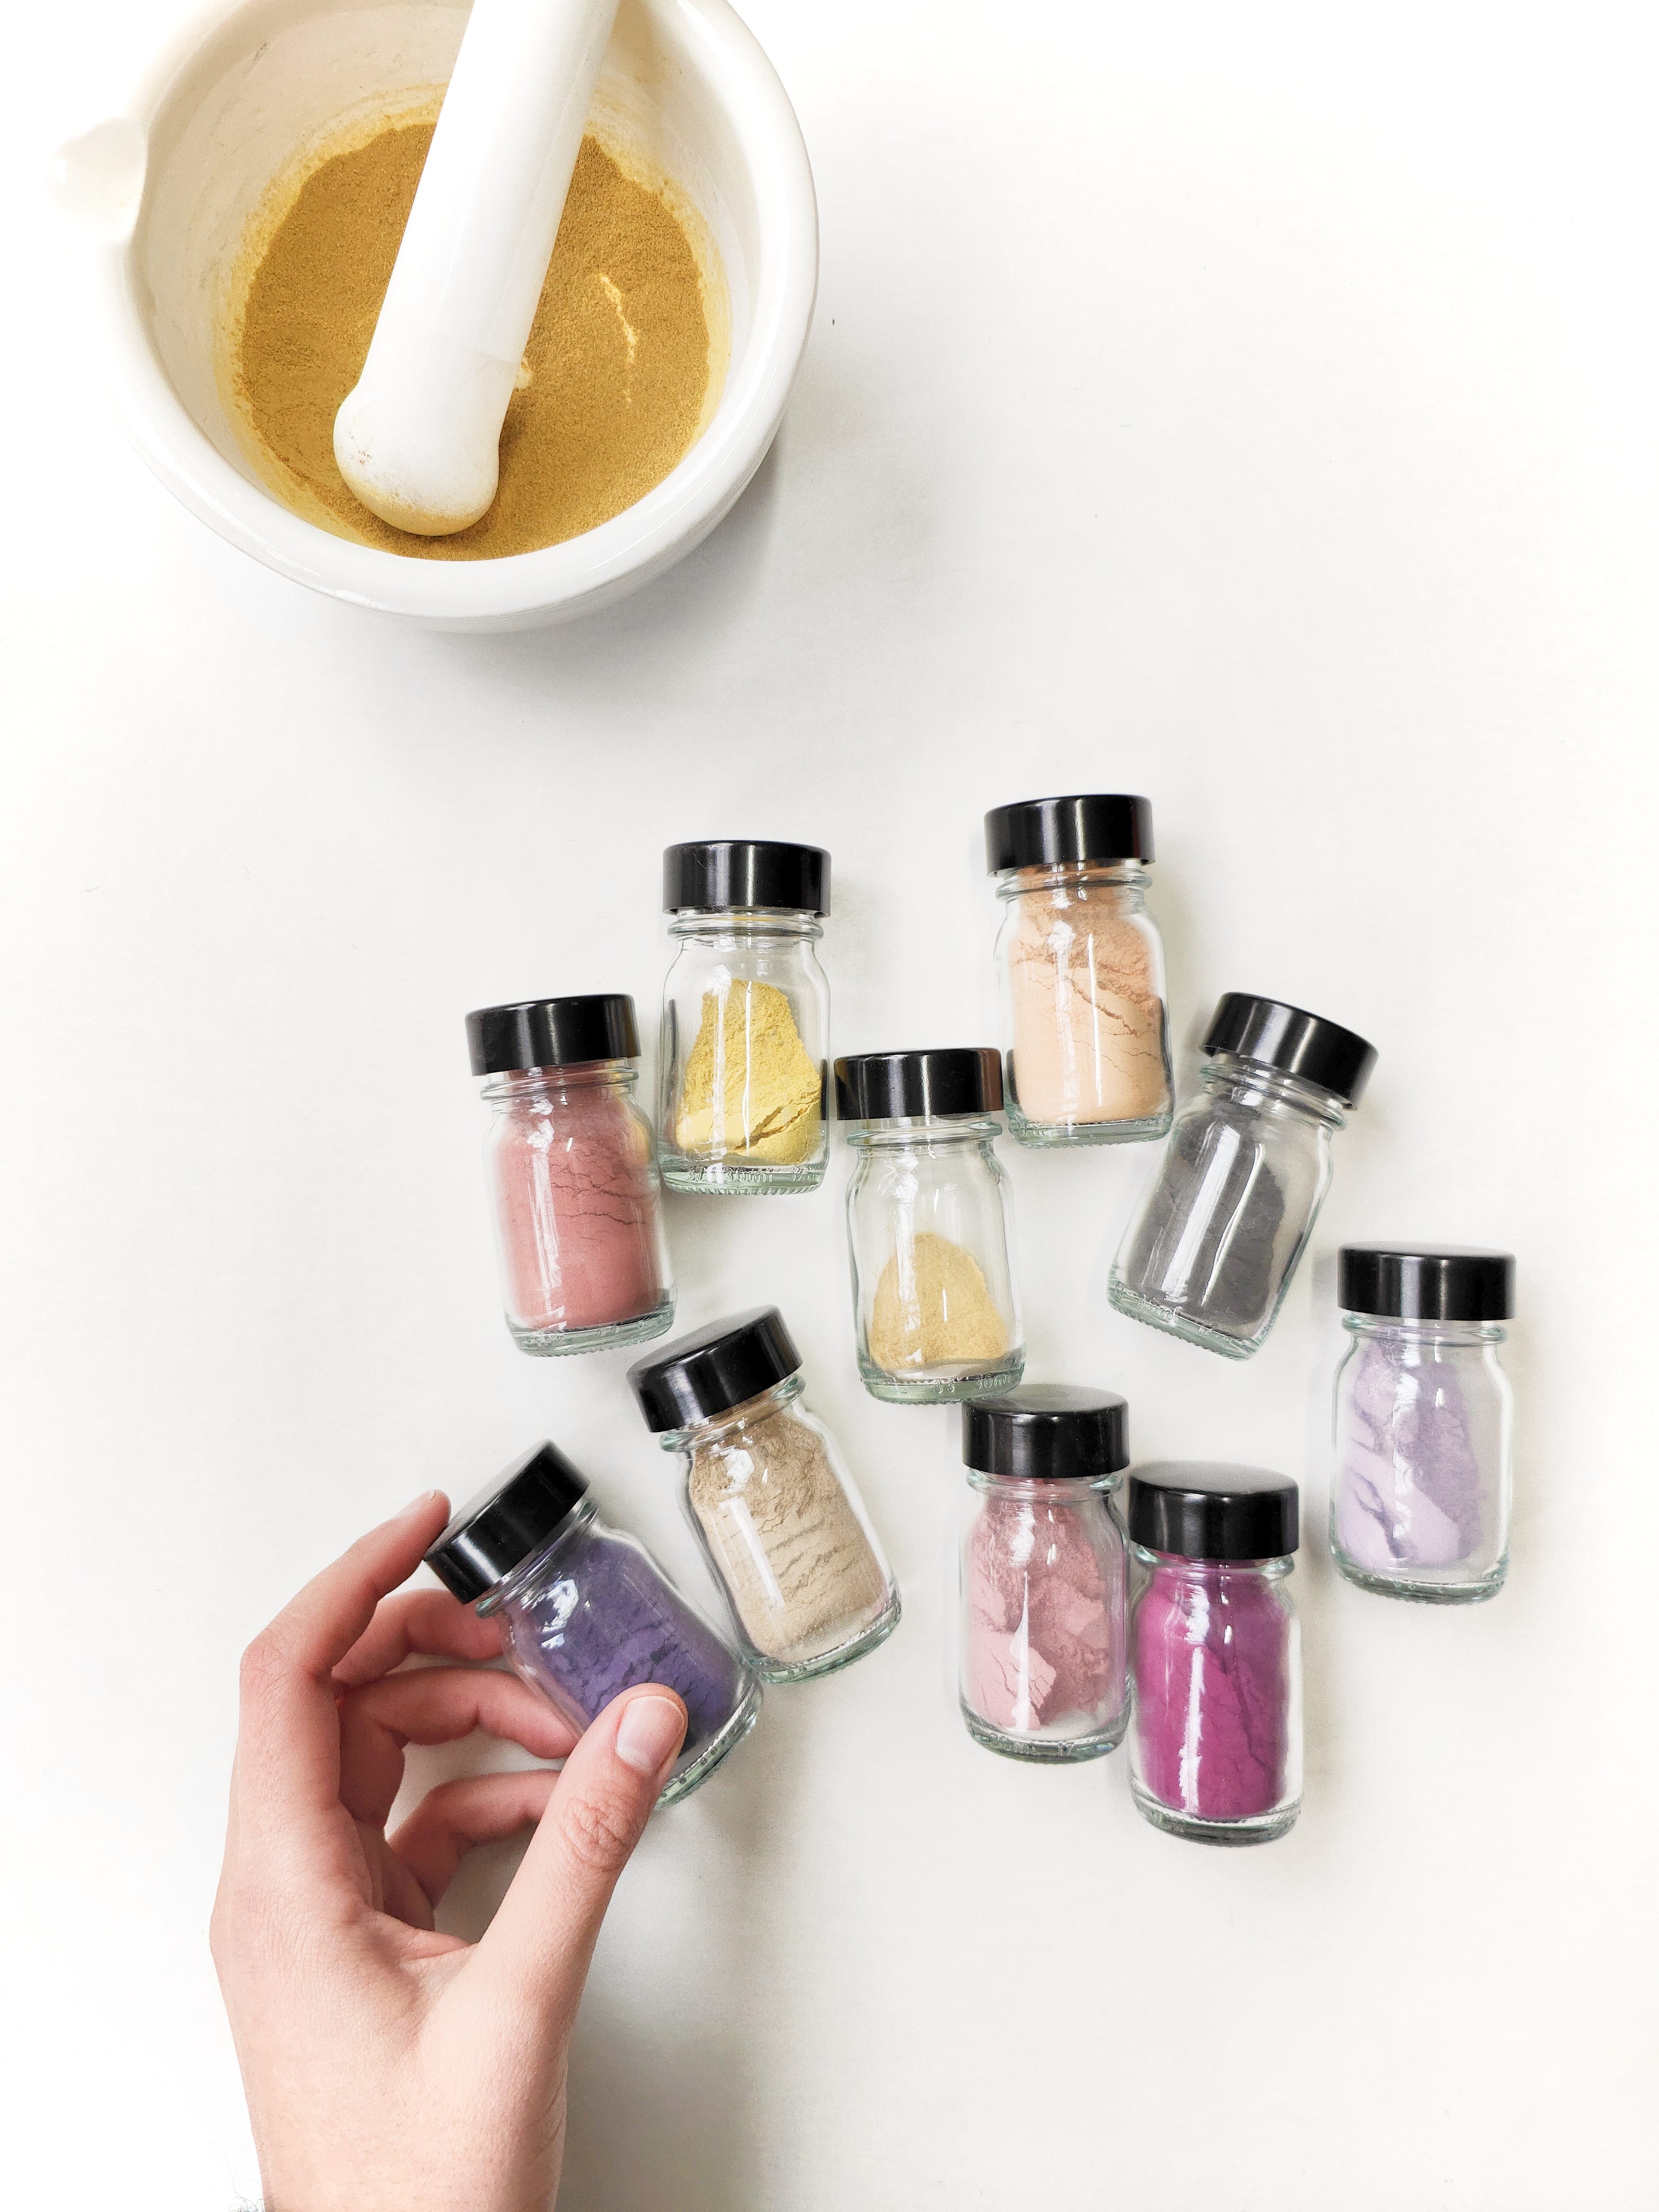
I store the pigments in glass jars and turn them into oil or watercolor paints for my art projects.
The lightfastness of these pigments depends on the quality of the dye you used. For example, madder root was traditionally used to make alizarin crimson red paint and still looks wonderful in old masters’ paintings. But a paint made with hollyhock pigments certainly wouldn’t last centuries. That being said, the elusive nature of natural color can be a feature, not a flaw, so don’t let it stop you, and have fun with the colors nature offers us. I’m sure I will!
Here’s the video of the process:

May you also find small pleasures in making things you don’t yet have a plan for.
Until next time,
Ania
I've always wondered what the difference was between dye and pigments and your post gives me a better idea of what those differences are. I do have a couple of questions: If you use the pigment to make fabric paint, is it washfast? Can you turn pigment powder back into dye? Or are all dye powders just dyes that have been boiled down until there's no water left? Sometimes, when I see a pretty pigment, I wonder if I can use it as dye.
hi Ania, I want to thank you for sharing this post. I've tried making this. and it's awesome :)
but I have a few questions, why do we need to neutralize the pH of the liquid and why did you add more alum to lower the pH level when you already got over 7 on your first try?
Thank You.