Last Saturday I run a plant dyeing workshop again. We got together at my cozy studio to play with 3 different dye plants and see how many colors we can make, using some of the tricks that I shared with the participants. Mind you, the color palette we developed is far from complete, and I don’t know if it could ever be. There are so many variations you can try—and that’s why this craft never gets boring for me.
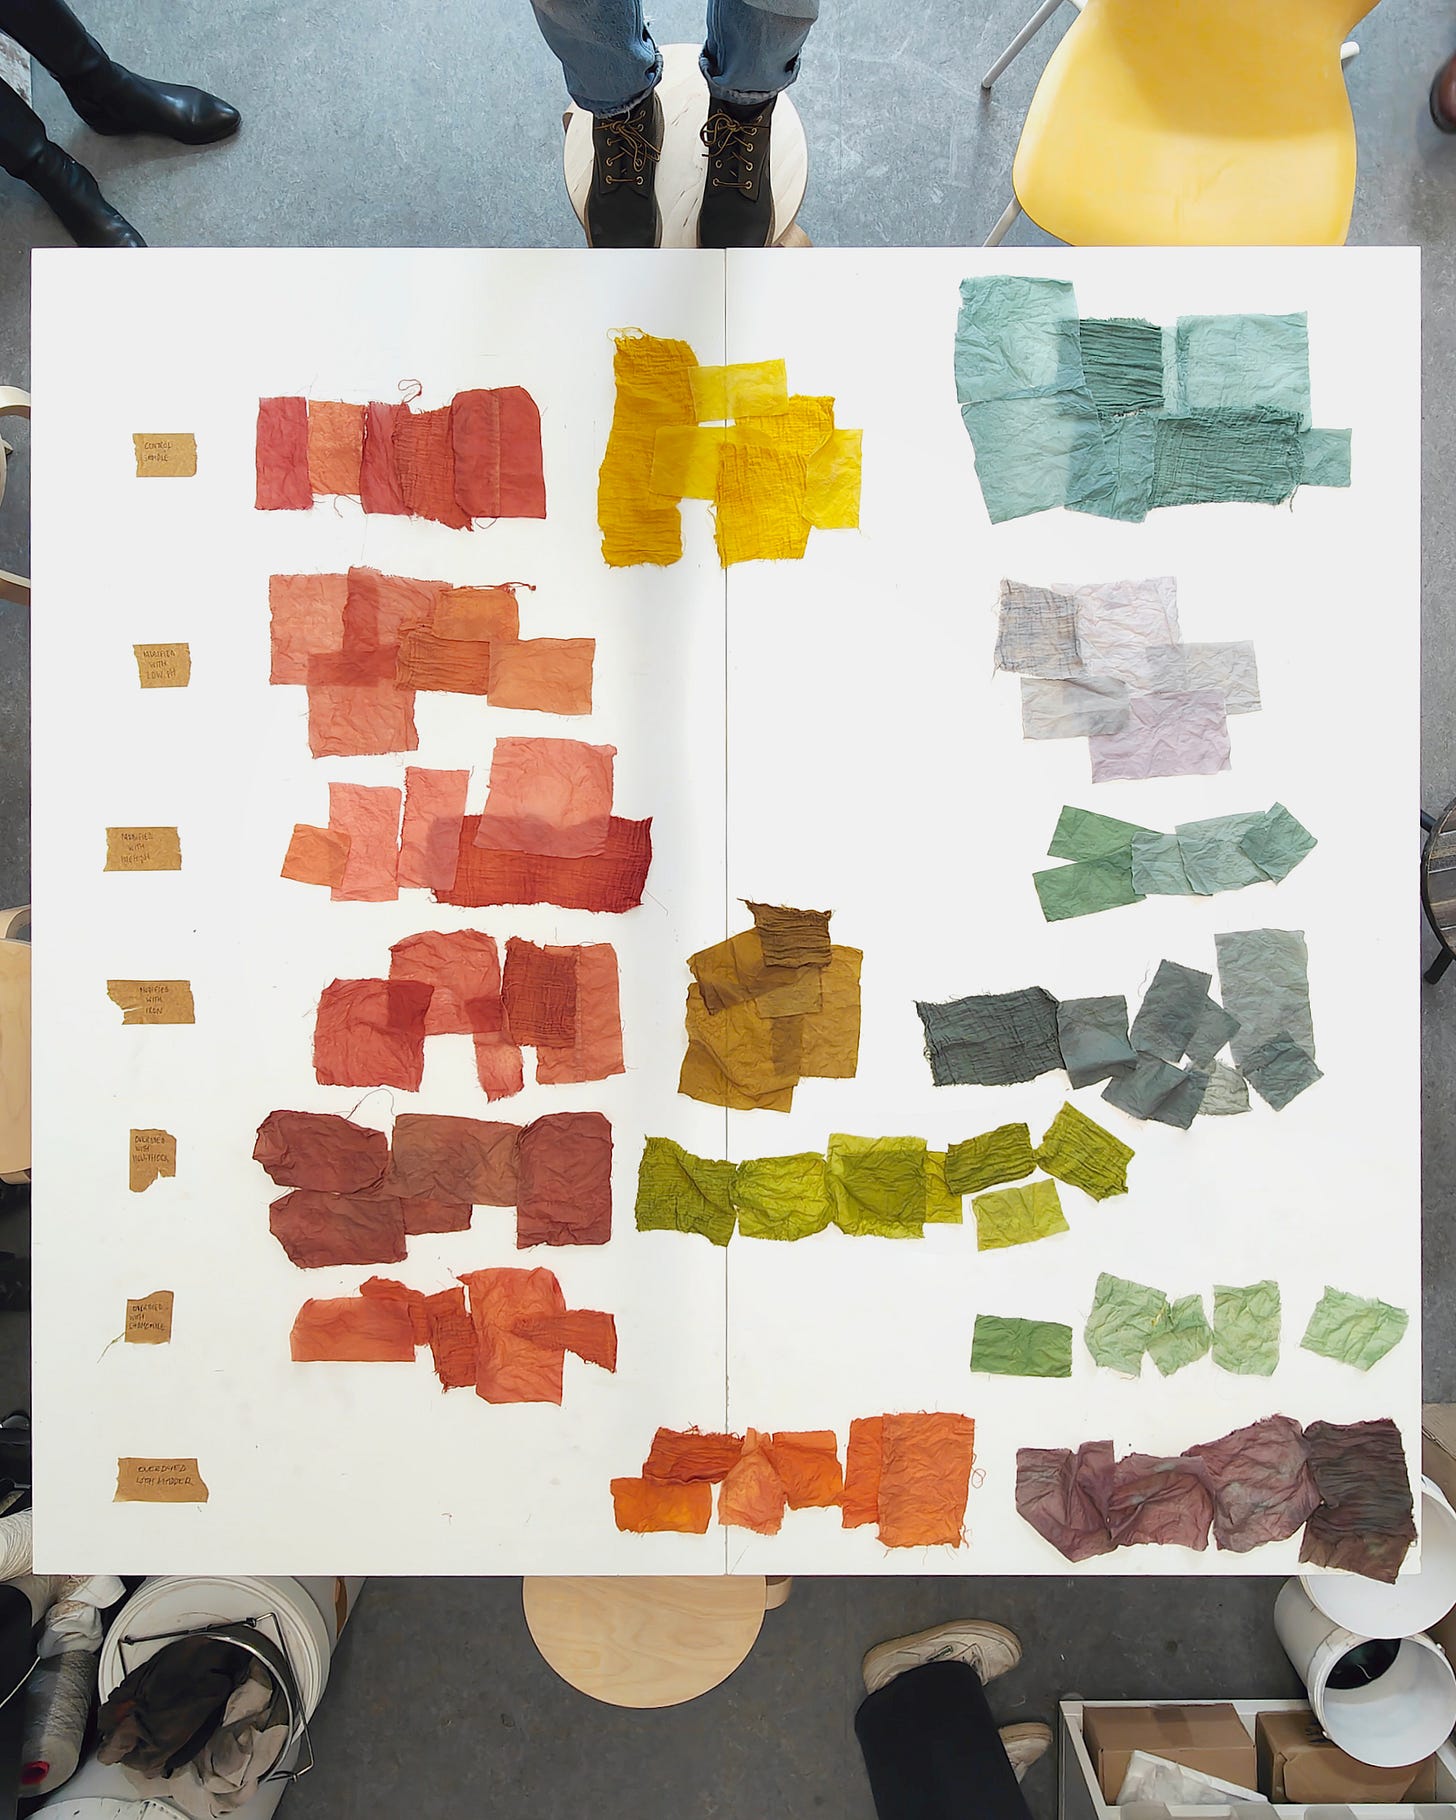
Here’s a roundup of the samples laid out on the workshop table after a couple of hours of experimenting:
Using different fibers
Plant dyes turn out differently, depending on what kind of fibers you use them on. As a general rule, wool and silk take up the color much better than cotton, and linen usually shields the palest results. But even within the same fiber, the result might differ significantly. It depends to some extend on the quality of cotton used, but also on how tightly or loosely the textile was woven, how heavy the fabric is and what kind of weaving pattern was used. Knowing all that, deciding on a very specific color even before you start a dye project seems futile. Making samples is a great way to develop sensitivity not only to dyes but also what kinds of fabrics promise the best results.
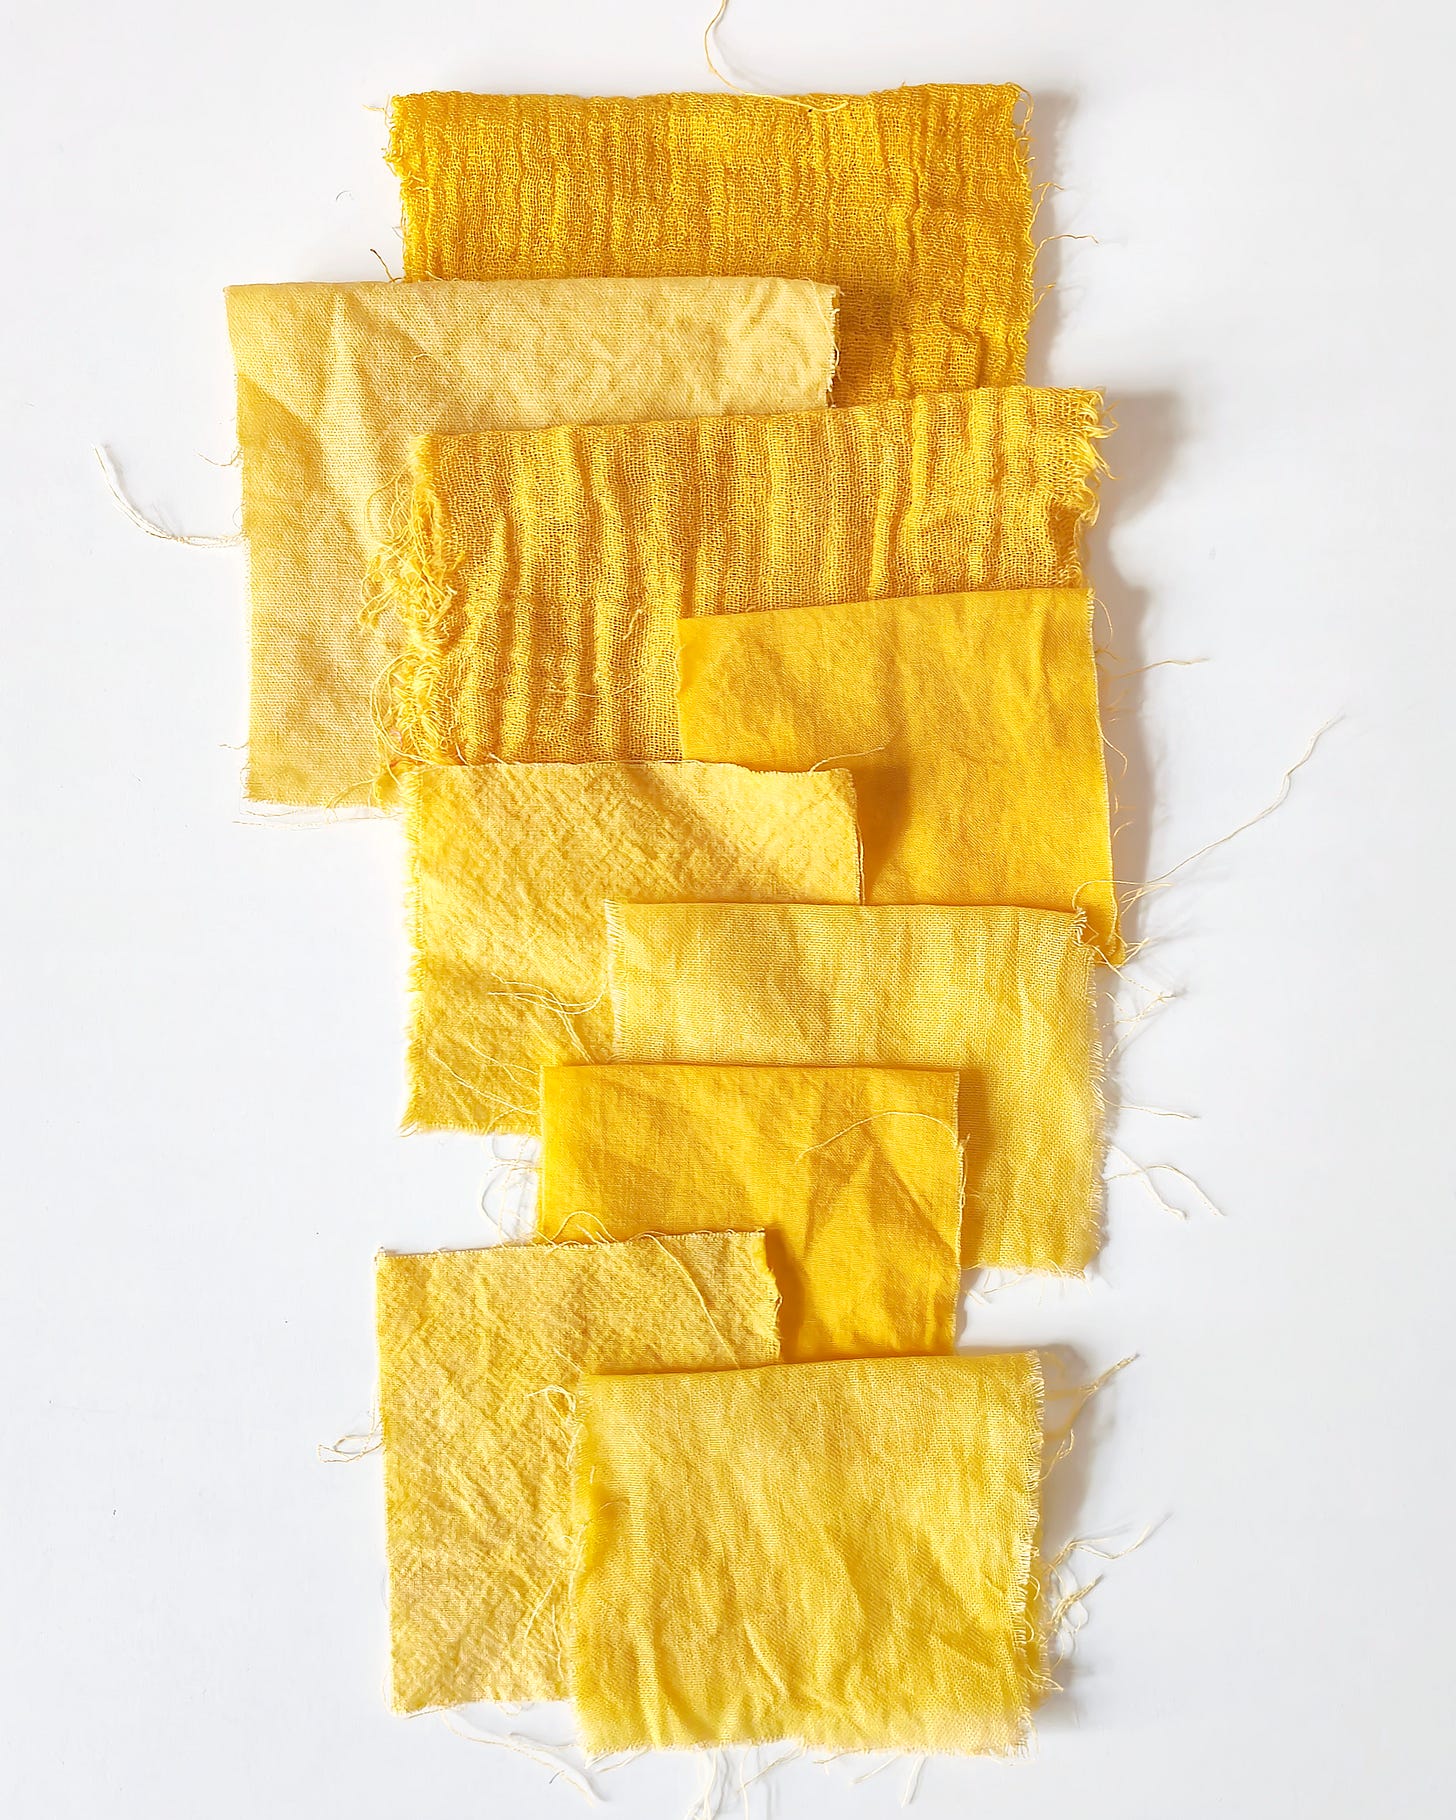
I let this set of chamomile-dyed samples serve as an example. All fabrics below are cotton, all were mordanted in the same mordant bath, and they all were dyed simultanously, in the same dye pot. The deepest, richest egg-yolk yellow was produced on organic cotton double gauze fabric, the palest being both the super-lightweight organic cotton voile and regular cotton muslin.
Modifying with mordants
Metal salts (mordants) do not only enhance the longevity of natural dyes. They also have an impact on the final color. While aluminium usually makes the colors more vibrant, iron can be used to “sadden” or “mute” those, that contain tannins. You can play with this property of mordants, when dyeing fibers, be it modifying the entire surface of the cloth, or using tie-dye techniques, painting with a brush, making prints or producing an ombre-effect. I have a chapter on that in my “Mordants for natural dyes” ebook if you’d like to read more about that.
And here are some cotton scraps that were first mordanted with aluminium and dyed with hollyhock [top] and later modified with iron [bottom]. Hollyhock is not very rich in tannins, so the difference in only moderate, but for me it’s enough to please the eye (though extremely hard to catch on camera).
Changing the pH
Another way of modifying the dye color is changing its pH-level. You can either change pH of the dye before dyeing the fibers, or soak already dyed fibers in a high-pH or a low-pH solution. As a general rule, low pH (acidic solution) pushes the colors towards the warmer end of the spectrum, and high pH (alkaline solution) pushes them towards the colder end of the spectrum.
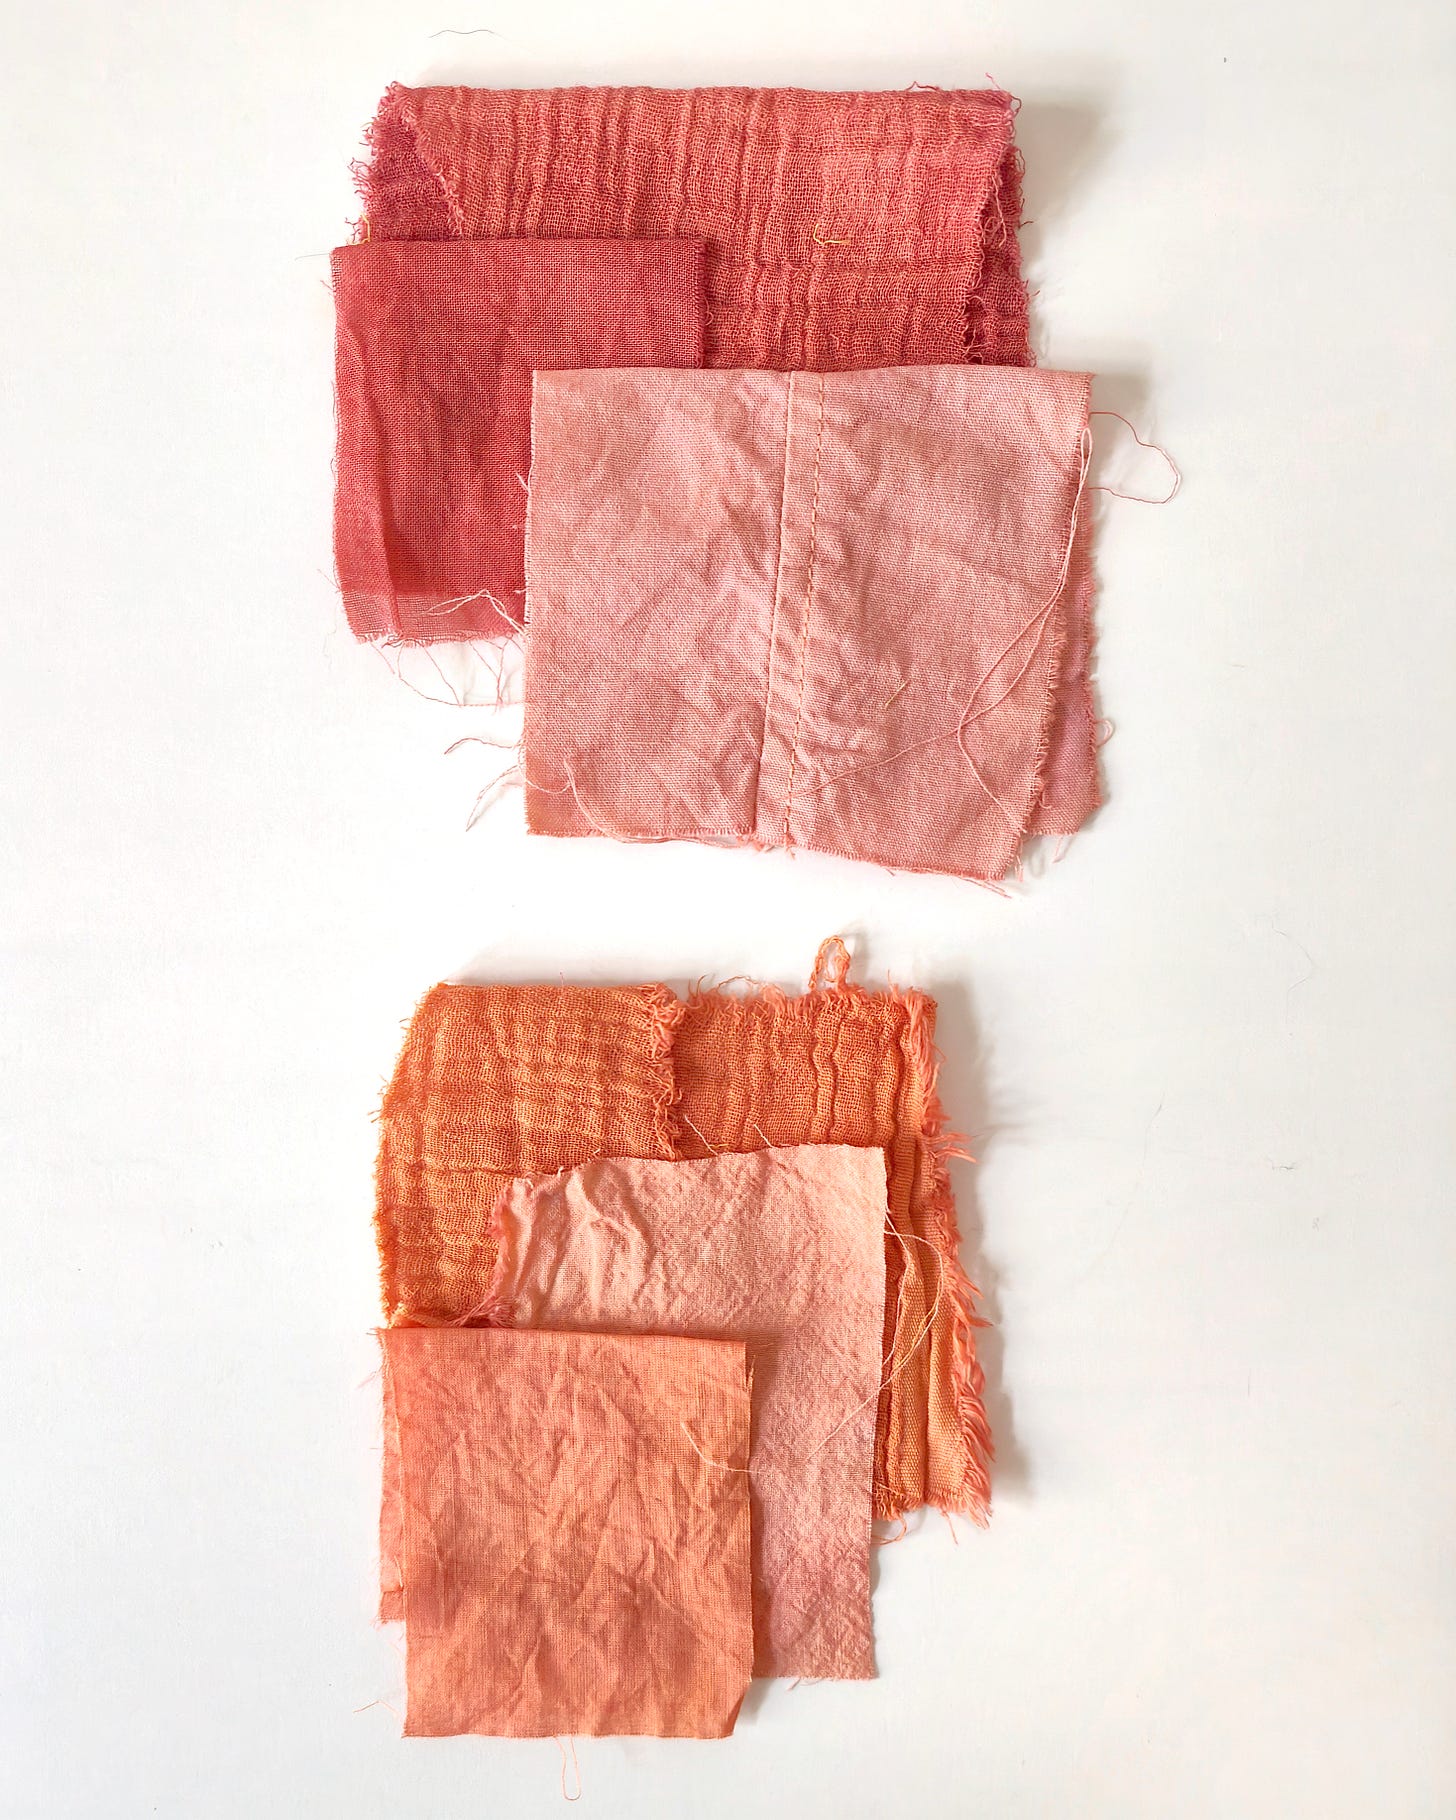
You can observe this on madder-dyed cotton samples below. The top bunch was dyed with madder and then dipped into a baking soda solution for a few minutes. The bottom bunch was dyed the exact same way and then dipped into a white vinegar solution. The initial coral red (not pictured) was modified into either red or orange only by using different pH-levels.
Over-dyeing
Last but not least, over-dyeing one color with another is a wonderful way of extending the color range. When dyeing green, for example, you would first apply one color, and then dye the fibers again with the other color. Why not mixing both dye baths in one pot? Because it doesn’t let you control the intensity of each ingredient. Some dyes are much stronger than others, some also attach quicker than the rest. By dividing this process into two steps, you can easily control the parts of the final result.
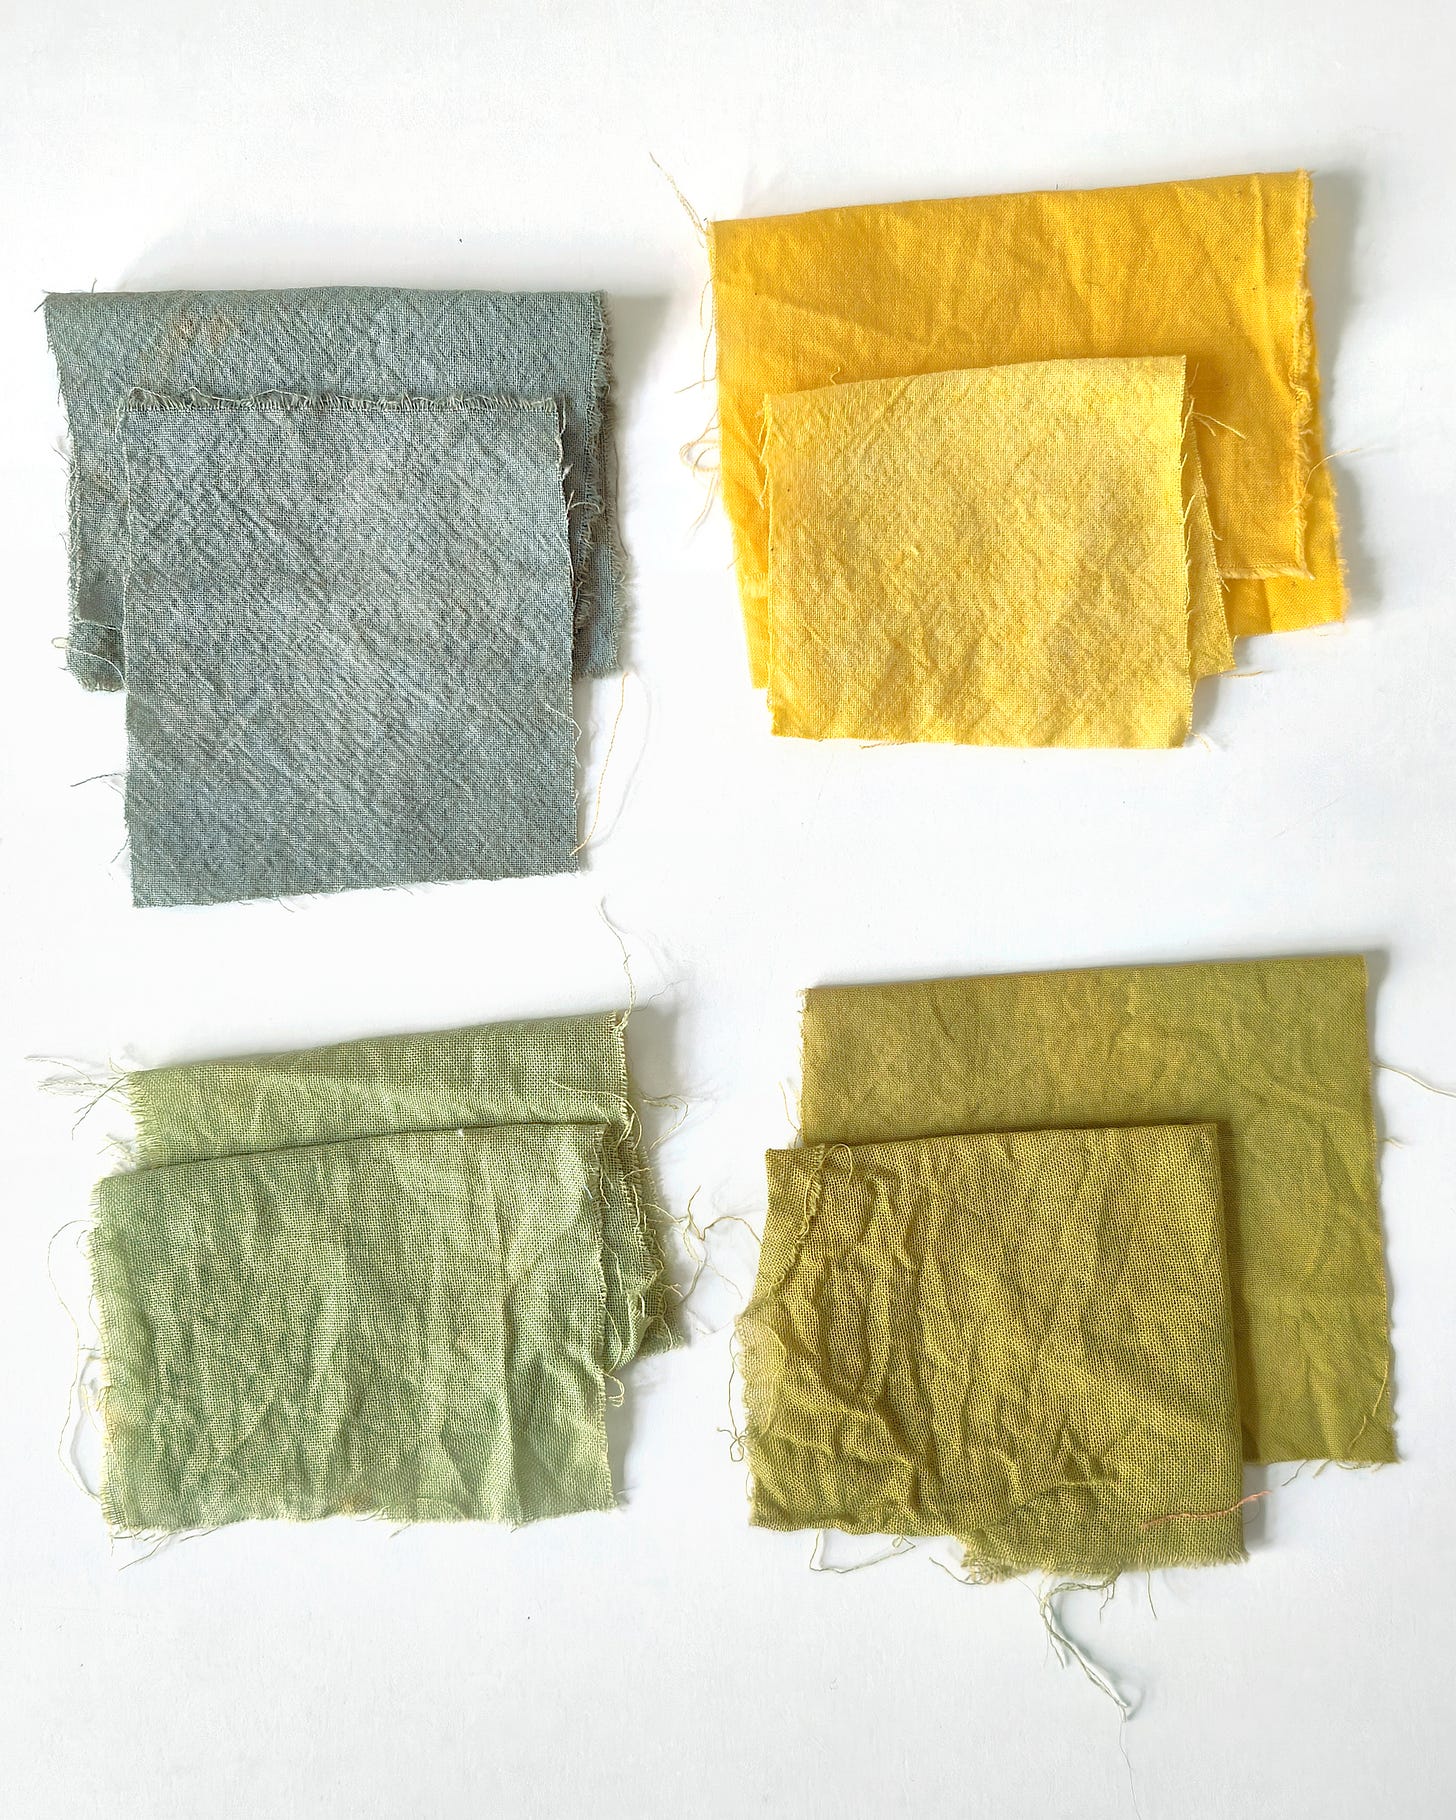
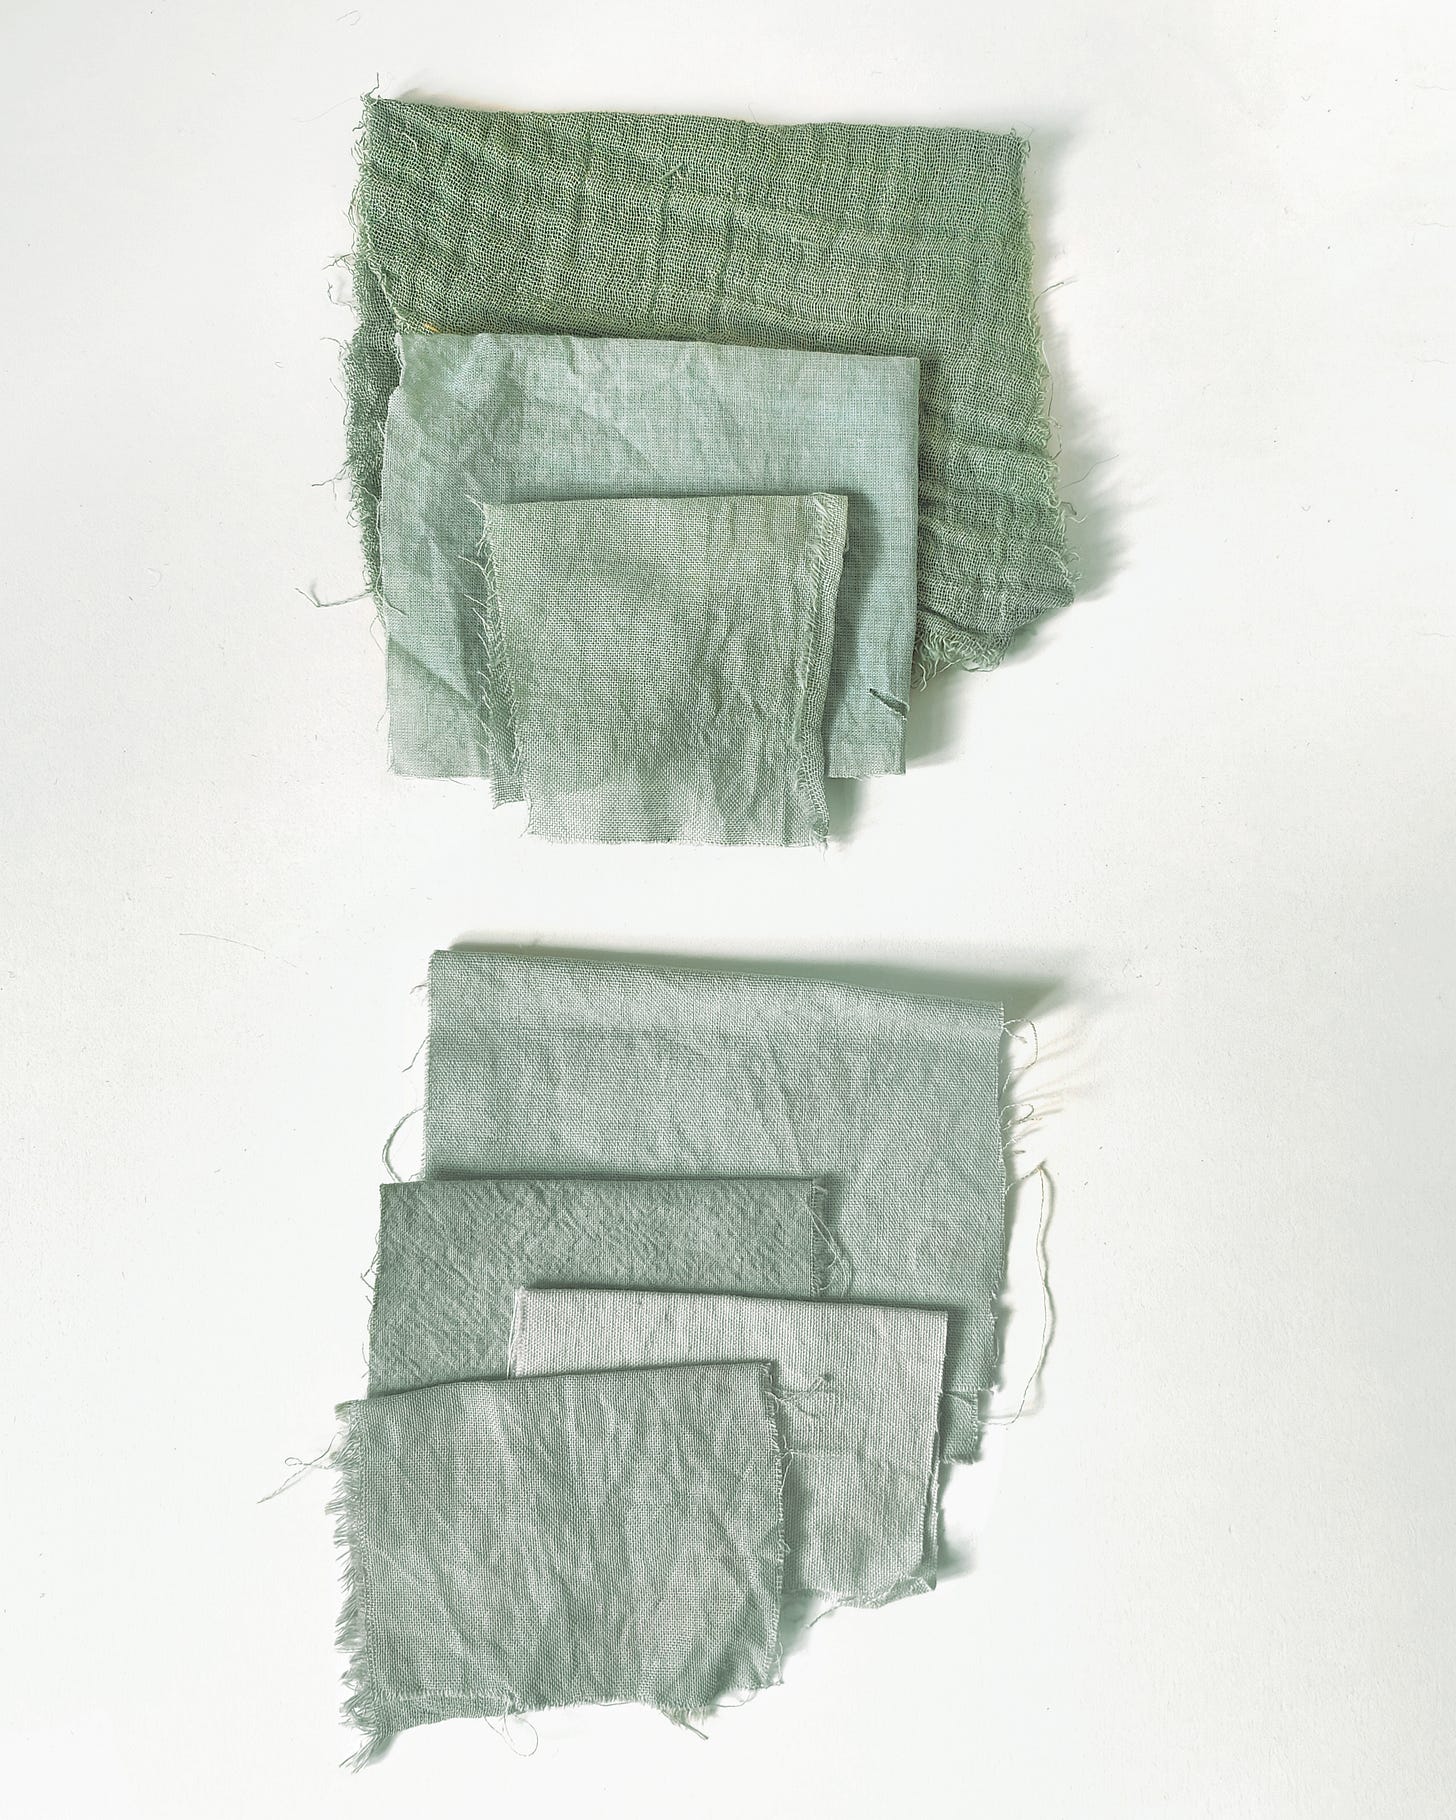
An interesting example of this process is pictured below. During the workshop we dyed two different greens, but using chamomile and hollyhock dyes. The two top rows show the original samples dyed with hollyhock [left] and chamomile [right]. Below you can see two different greens resulting from the overlying process. On the left, there are samples dyed with hollyhock and over-dyed with chamomile. On the right, chamomile over-dyed with hollyhock. As you can see, even the order of these actions has direct influence on the final shade.
One more way of controlling the color is changing the intensity of the dye bath, but this is something I will talk about in detail next time.
If you would like to join one of my workshops, it’s best to find a group of (up to 5) friends you’d like to share this experience with, and book a private class.
I am also available for team events or branding events. Send me an email to hello@kaliko.co and I’ll get back to you with more details.
Before I sign off for the week, I wanted to thank you for following this publication. I enjoy sending out these short snippets of dyeing knowledge and I hope you enjoy receiving them, too! That being said, I decided to switch to a fortnightly publishing schedule, which I hope will bring me some much needed breathing room and will make this publication more sustainable. I have a lot of ideas (generously submitted by you) for future articles, but if there’s anything else you’d like me to cover, I am, as always, all ears.
May your days be filled with colors nourishing the soul and soothing the mind.
Until next time,
Ania



The overdye experiments are fascinating, thanks for sharing!